
❗️Important: These instructions are for customers who purchased templates from The Hello Bureau. If you bought a template elsewhere, please refer to your original seller for guidance. We are unable to assist with templates that were not created by us.
Adding a background colour to your design is a simple way to create contrast, highlight text, or match your stationery to your event’s colour palette. Just keep in mind — whatever background colour you choose will be printed.
We’ll be using our Lumen Welcome Sign template for this tutorial. The editing process is done in Templett, an easy-to-use online design editor where we create and manage our templates.

Step 1: Add a Background Layer
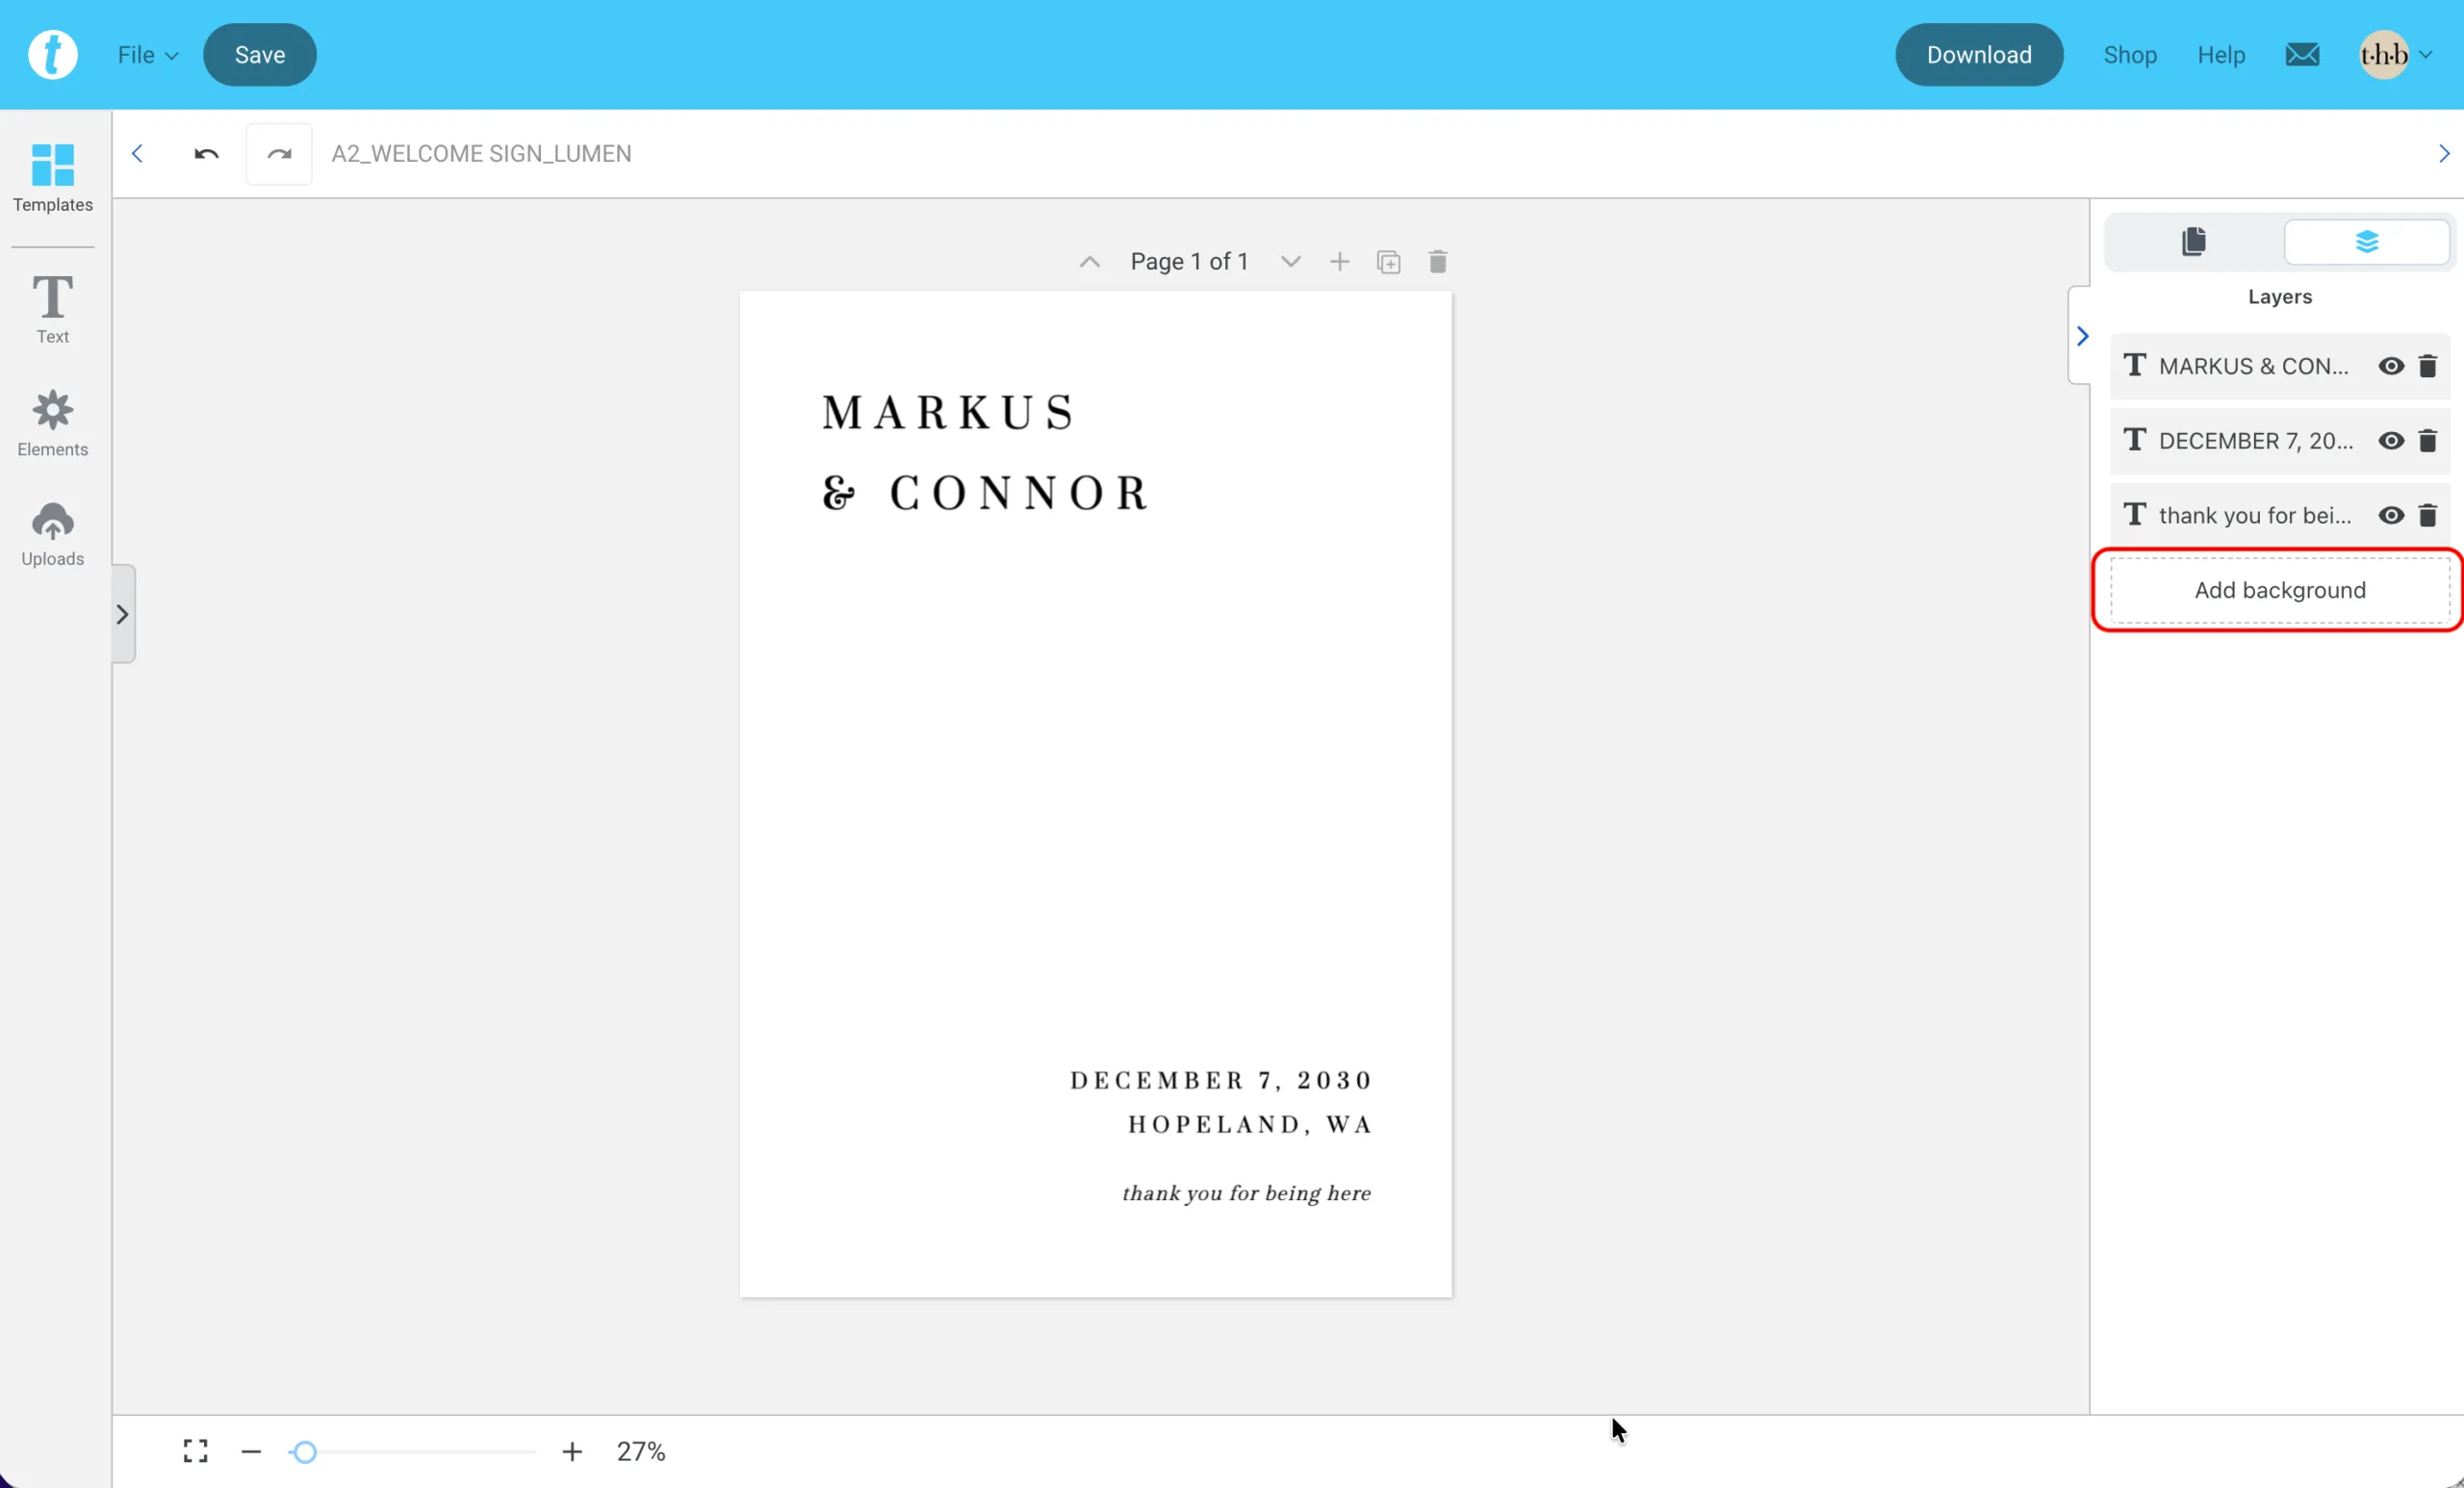
On the right-hand side of the canvas, locate the Pages menu that displays a thumbnail of your template. Click the icon that looks like stacked paper — this opens the Layers panel.
At the bottom of the Layers panel, you’ll see an option called Add Background. Click it, and a new background colour layer will be added to your template and appear beneath your existing design elements.
Tip: If your template already has a background layer, you can click it directly from the Layers panel to change its colour.
Step 2: Choose a Colour
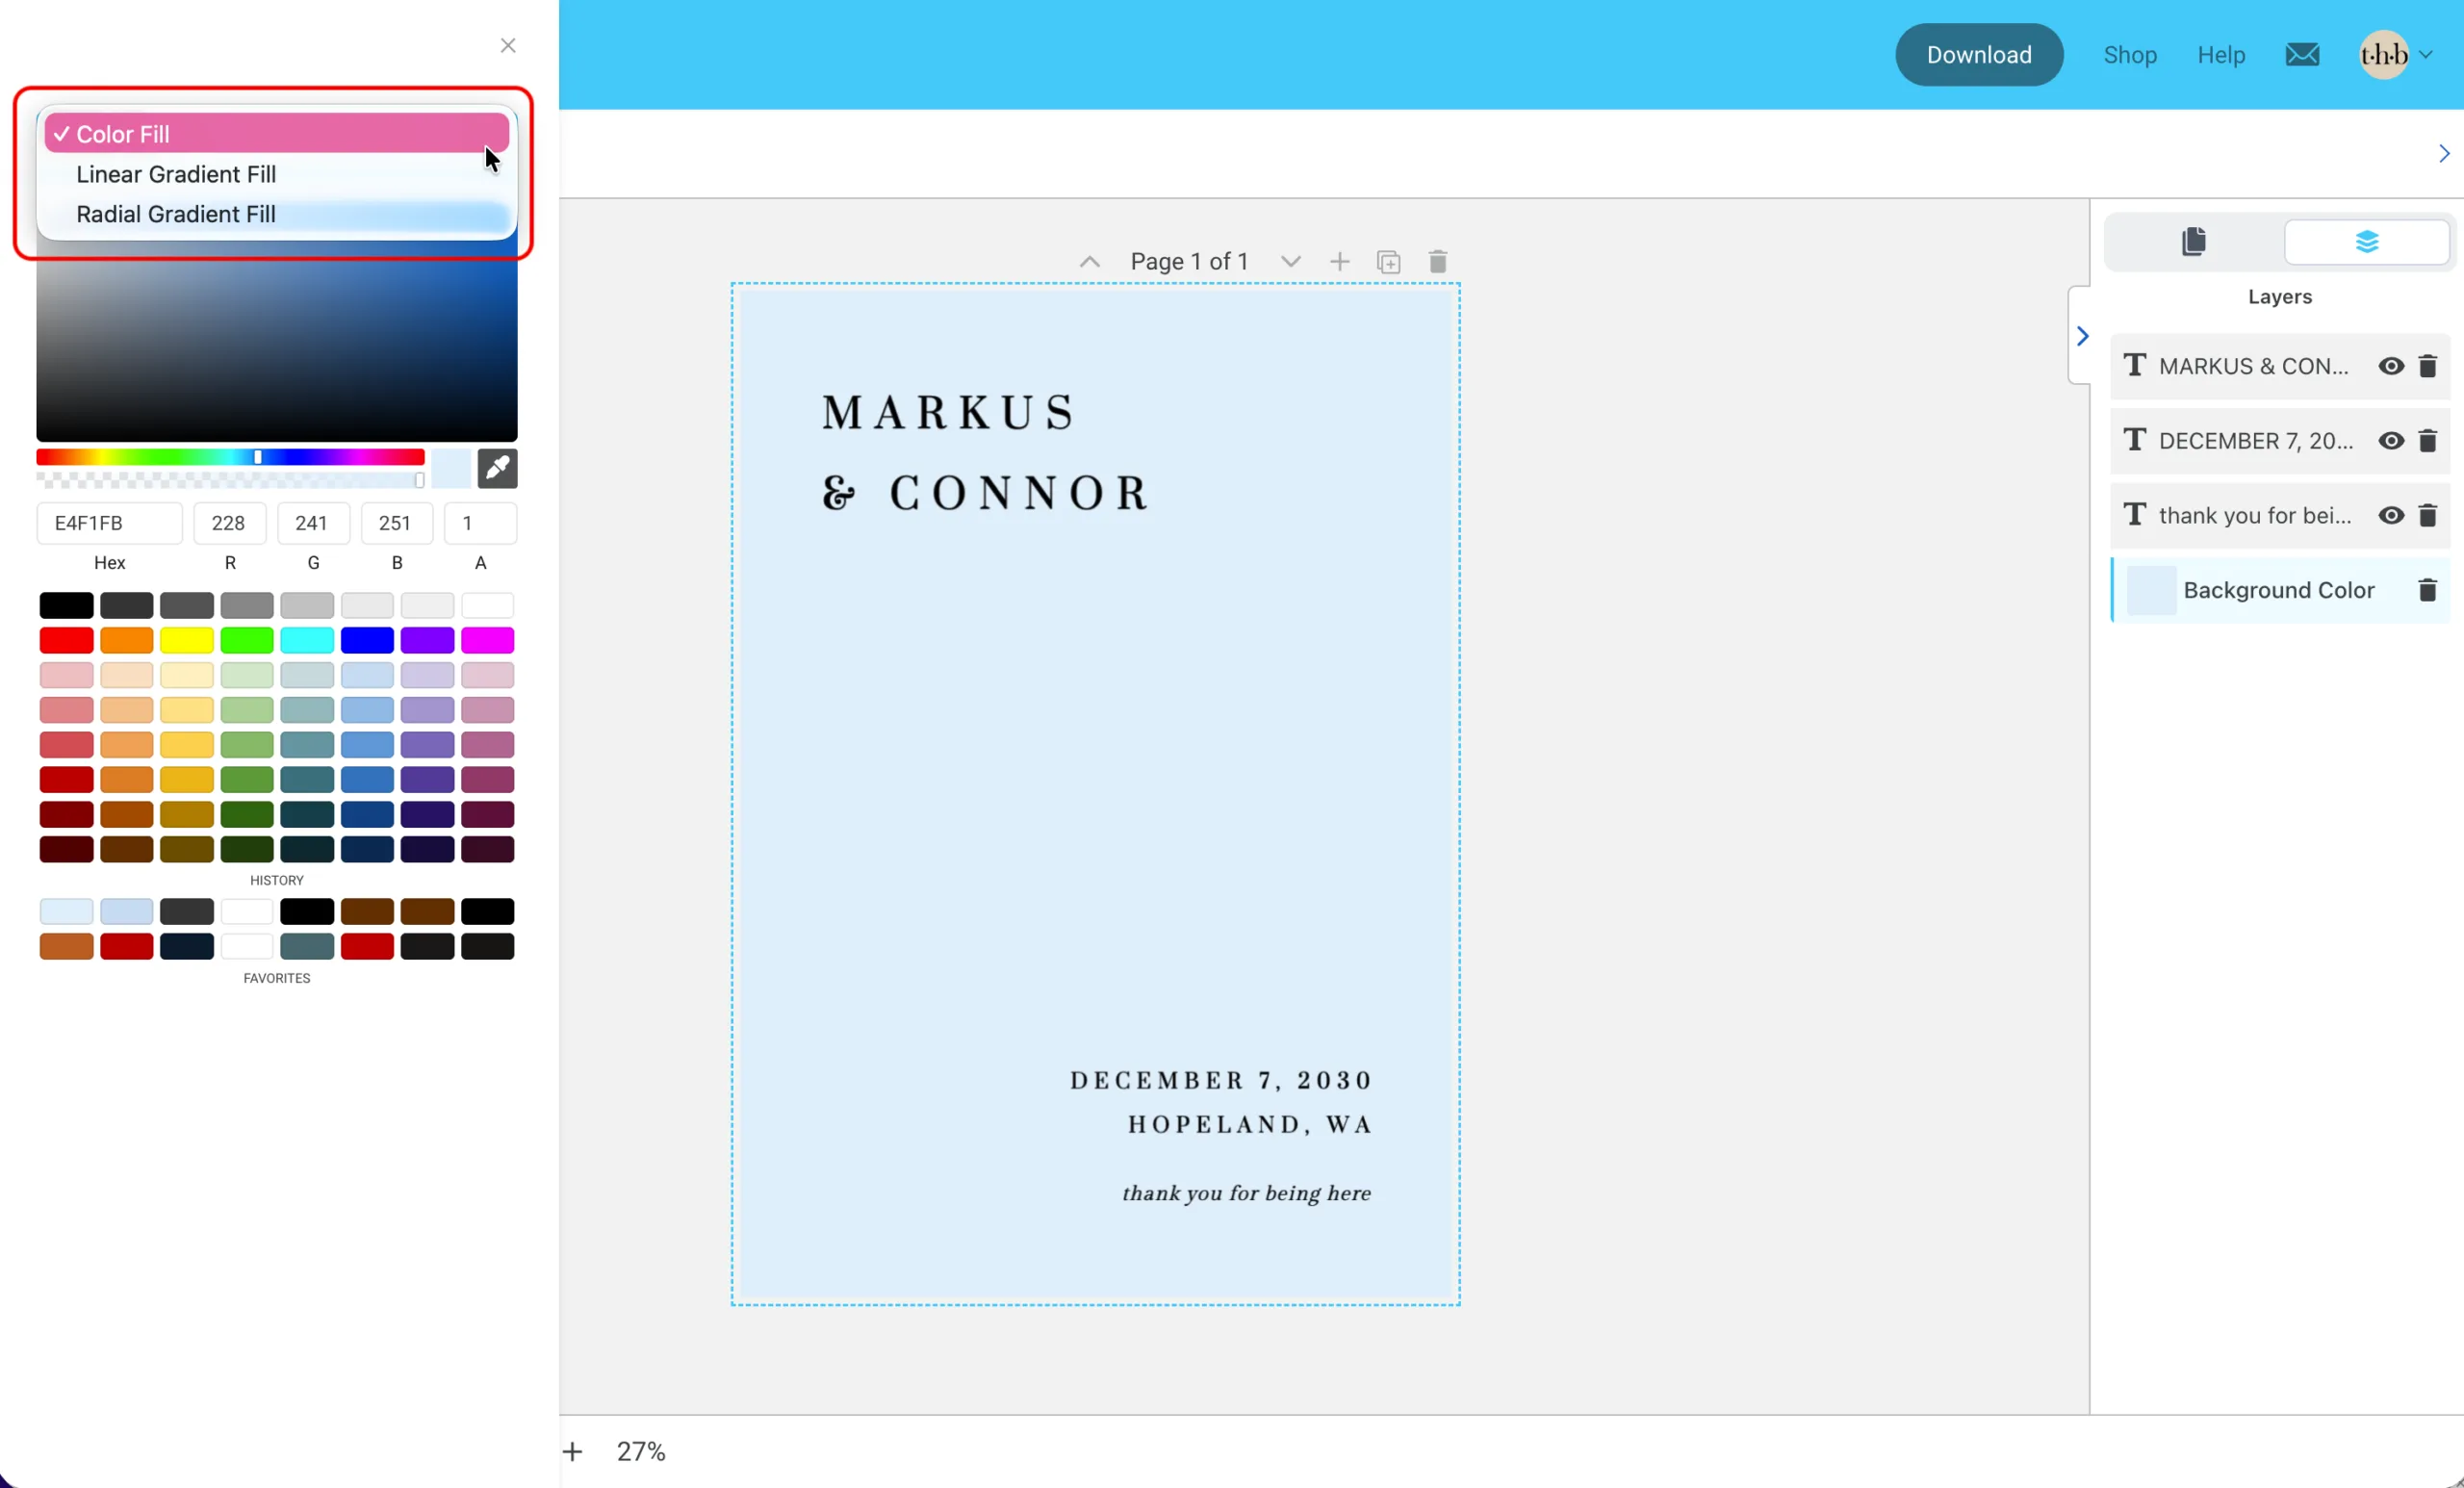
With the background layer selected, a colour picker menu will appear on the left-hand side. At the top, you can choose between:
- Colour Fill: A solid colour background — great if you’re going for a clean, block-colour look.
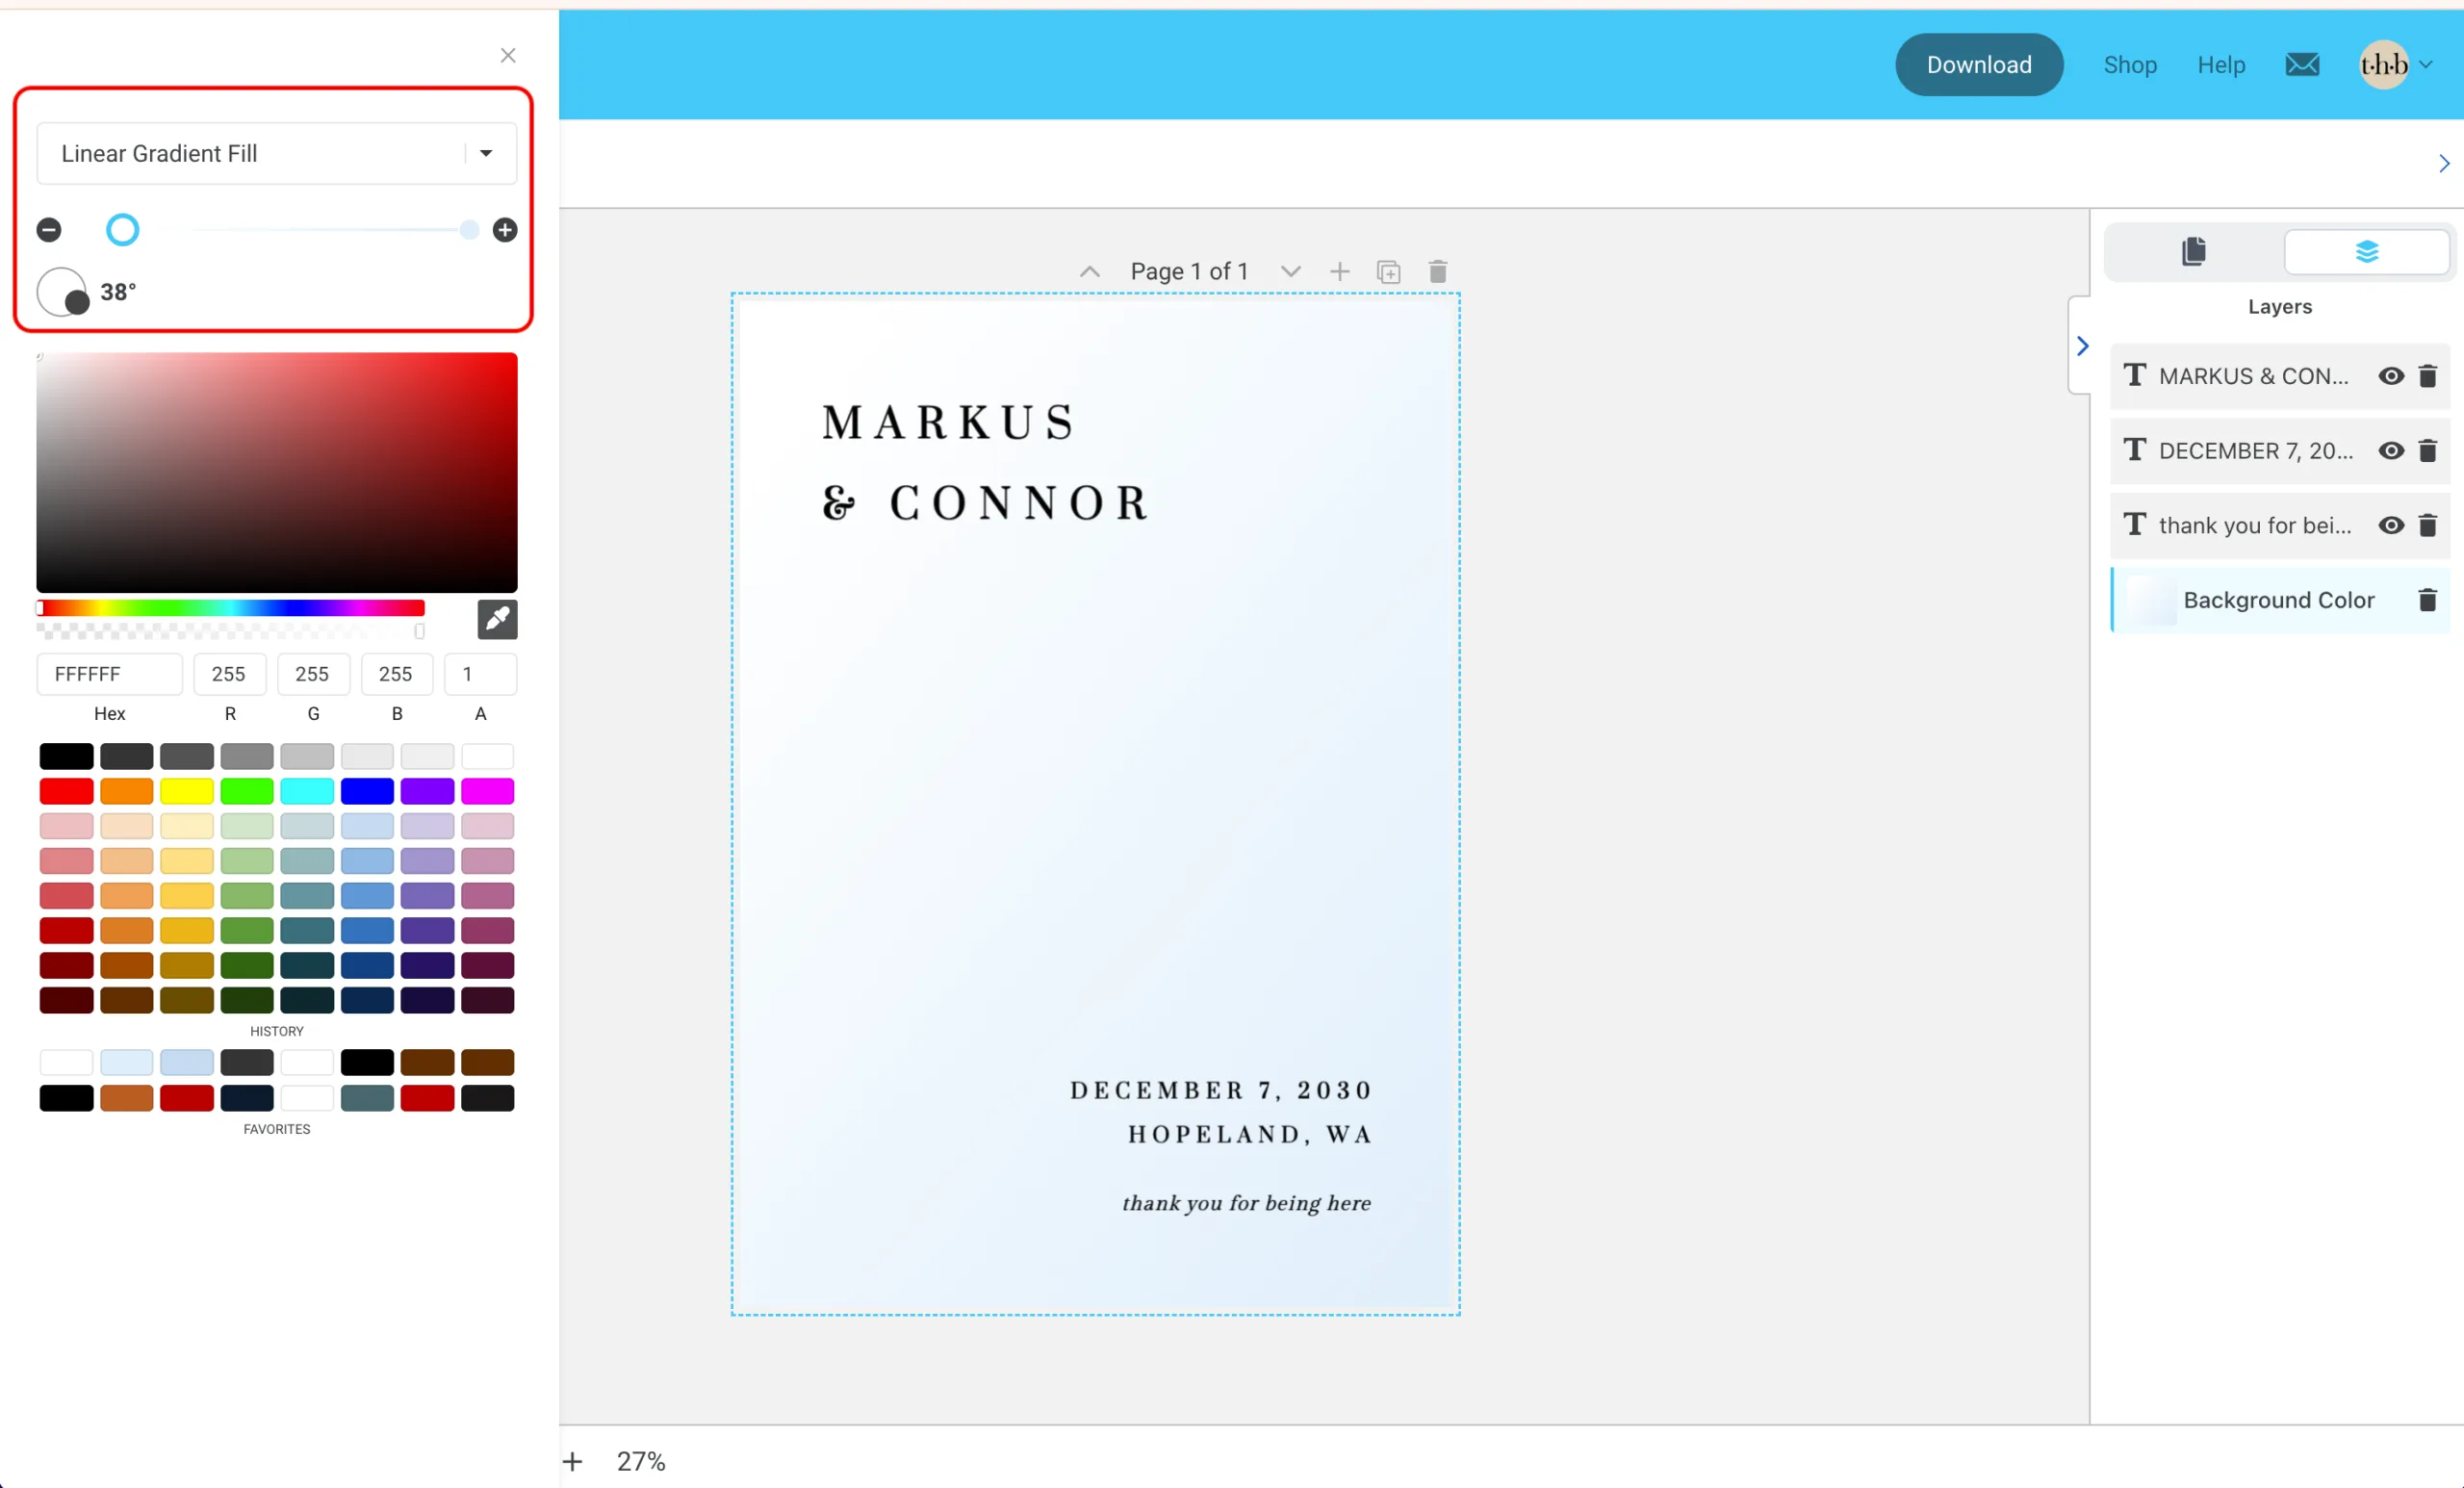
- Linear Gradient Fill: Adds a soft, linear gradient. You can adjust the angle and size to control how the light and dark areas fade across the background.
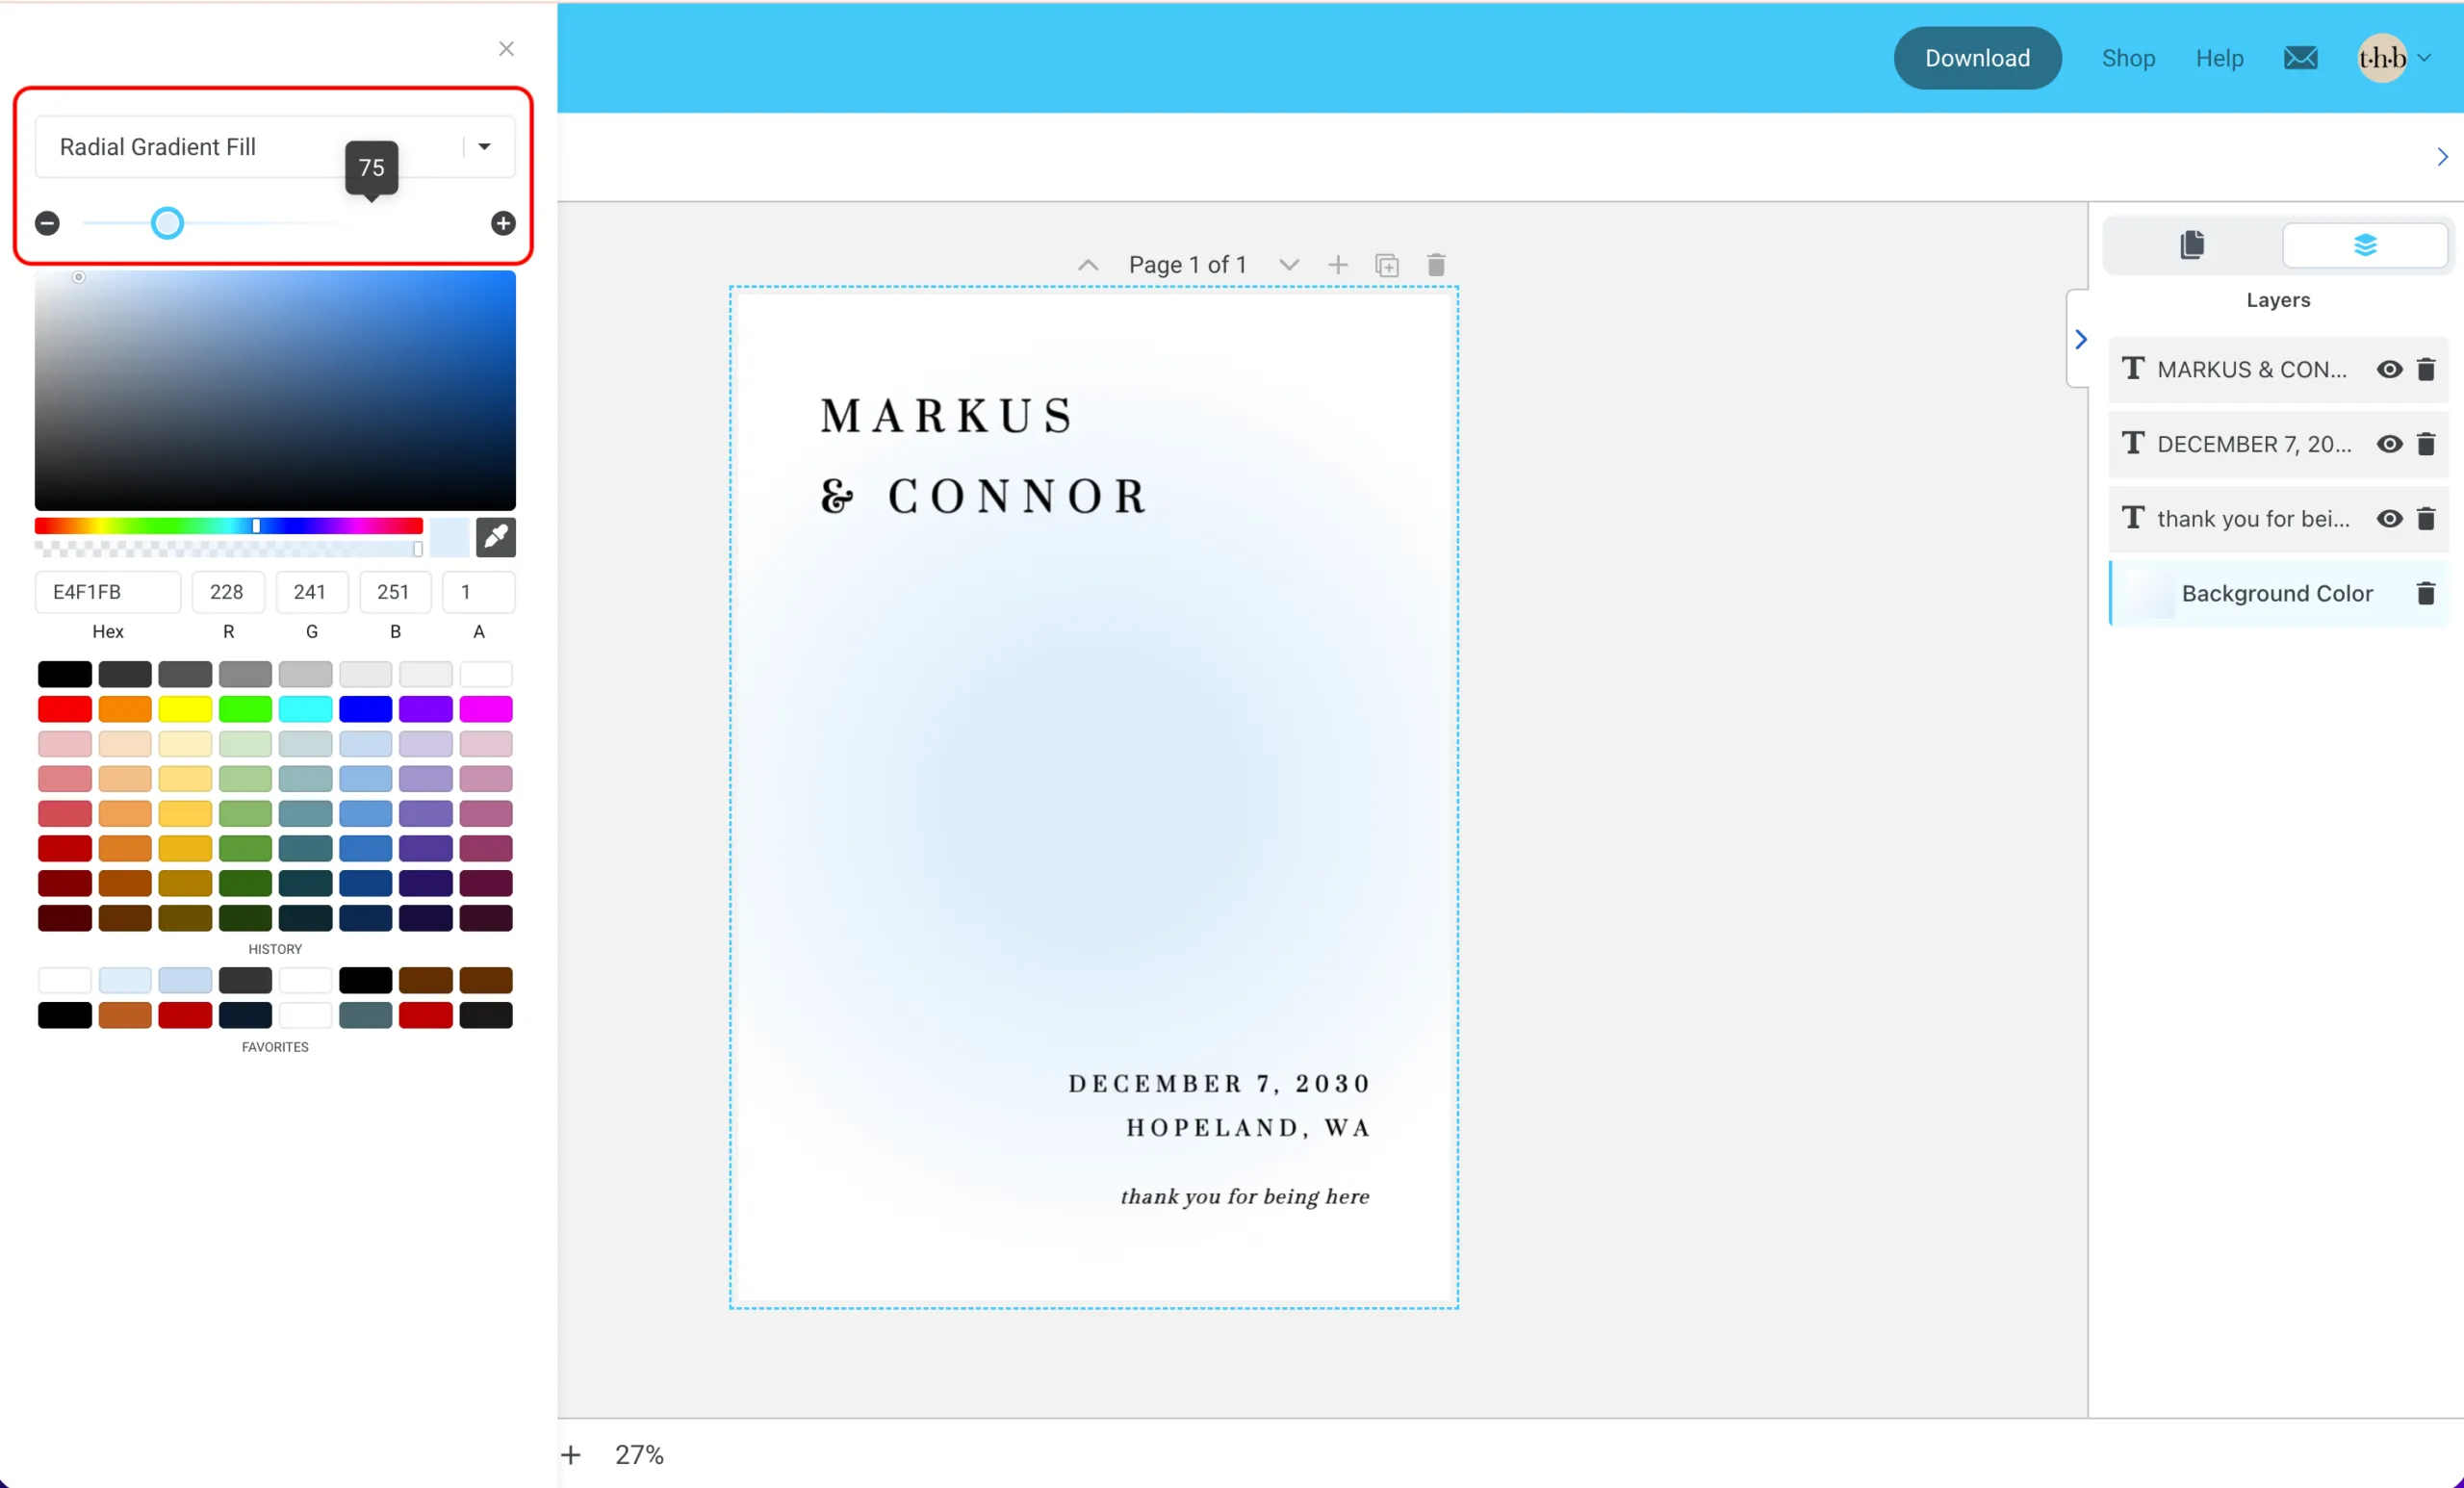
- Radial Gradient Fill: Creates a circular gradient that radiates outward. You can adjust the size and placement to suit your design.
To adjust gradient colours, click on each end point to choose a different colour for either end of the gradient. This lets you control the transition and overall tone.
Below are examples of both gradient styles. In our template, the starting colour is a muted blue, gradually fading to white. To change the colours in the gradient, click the round stopper on either end of the gradient bar and select a colour from below. In our example, we placed white on one end and blue on the other. You can then adjust the gradient using the slider.
Step 3: To Remove the Background Colour
Simply delete the background layer in the Layers panel to revert the template back to its original white state.
Templates with Existing Background Designs
If your template already includes a background (like a painted texture or image), you won’t be able to change its colour. While the Add Background option may still appear, it won’t replace or delete the existing one — and clicking it may cause the template to freeze. To avoid any issues, we recommend not using this option on pre-designed backgrounds.

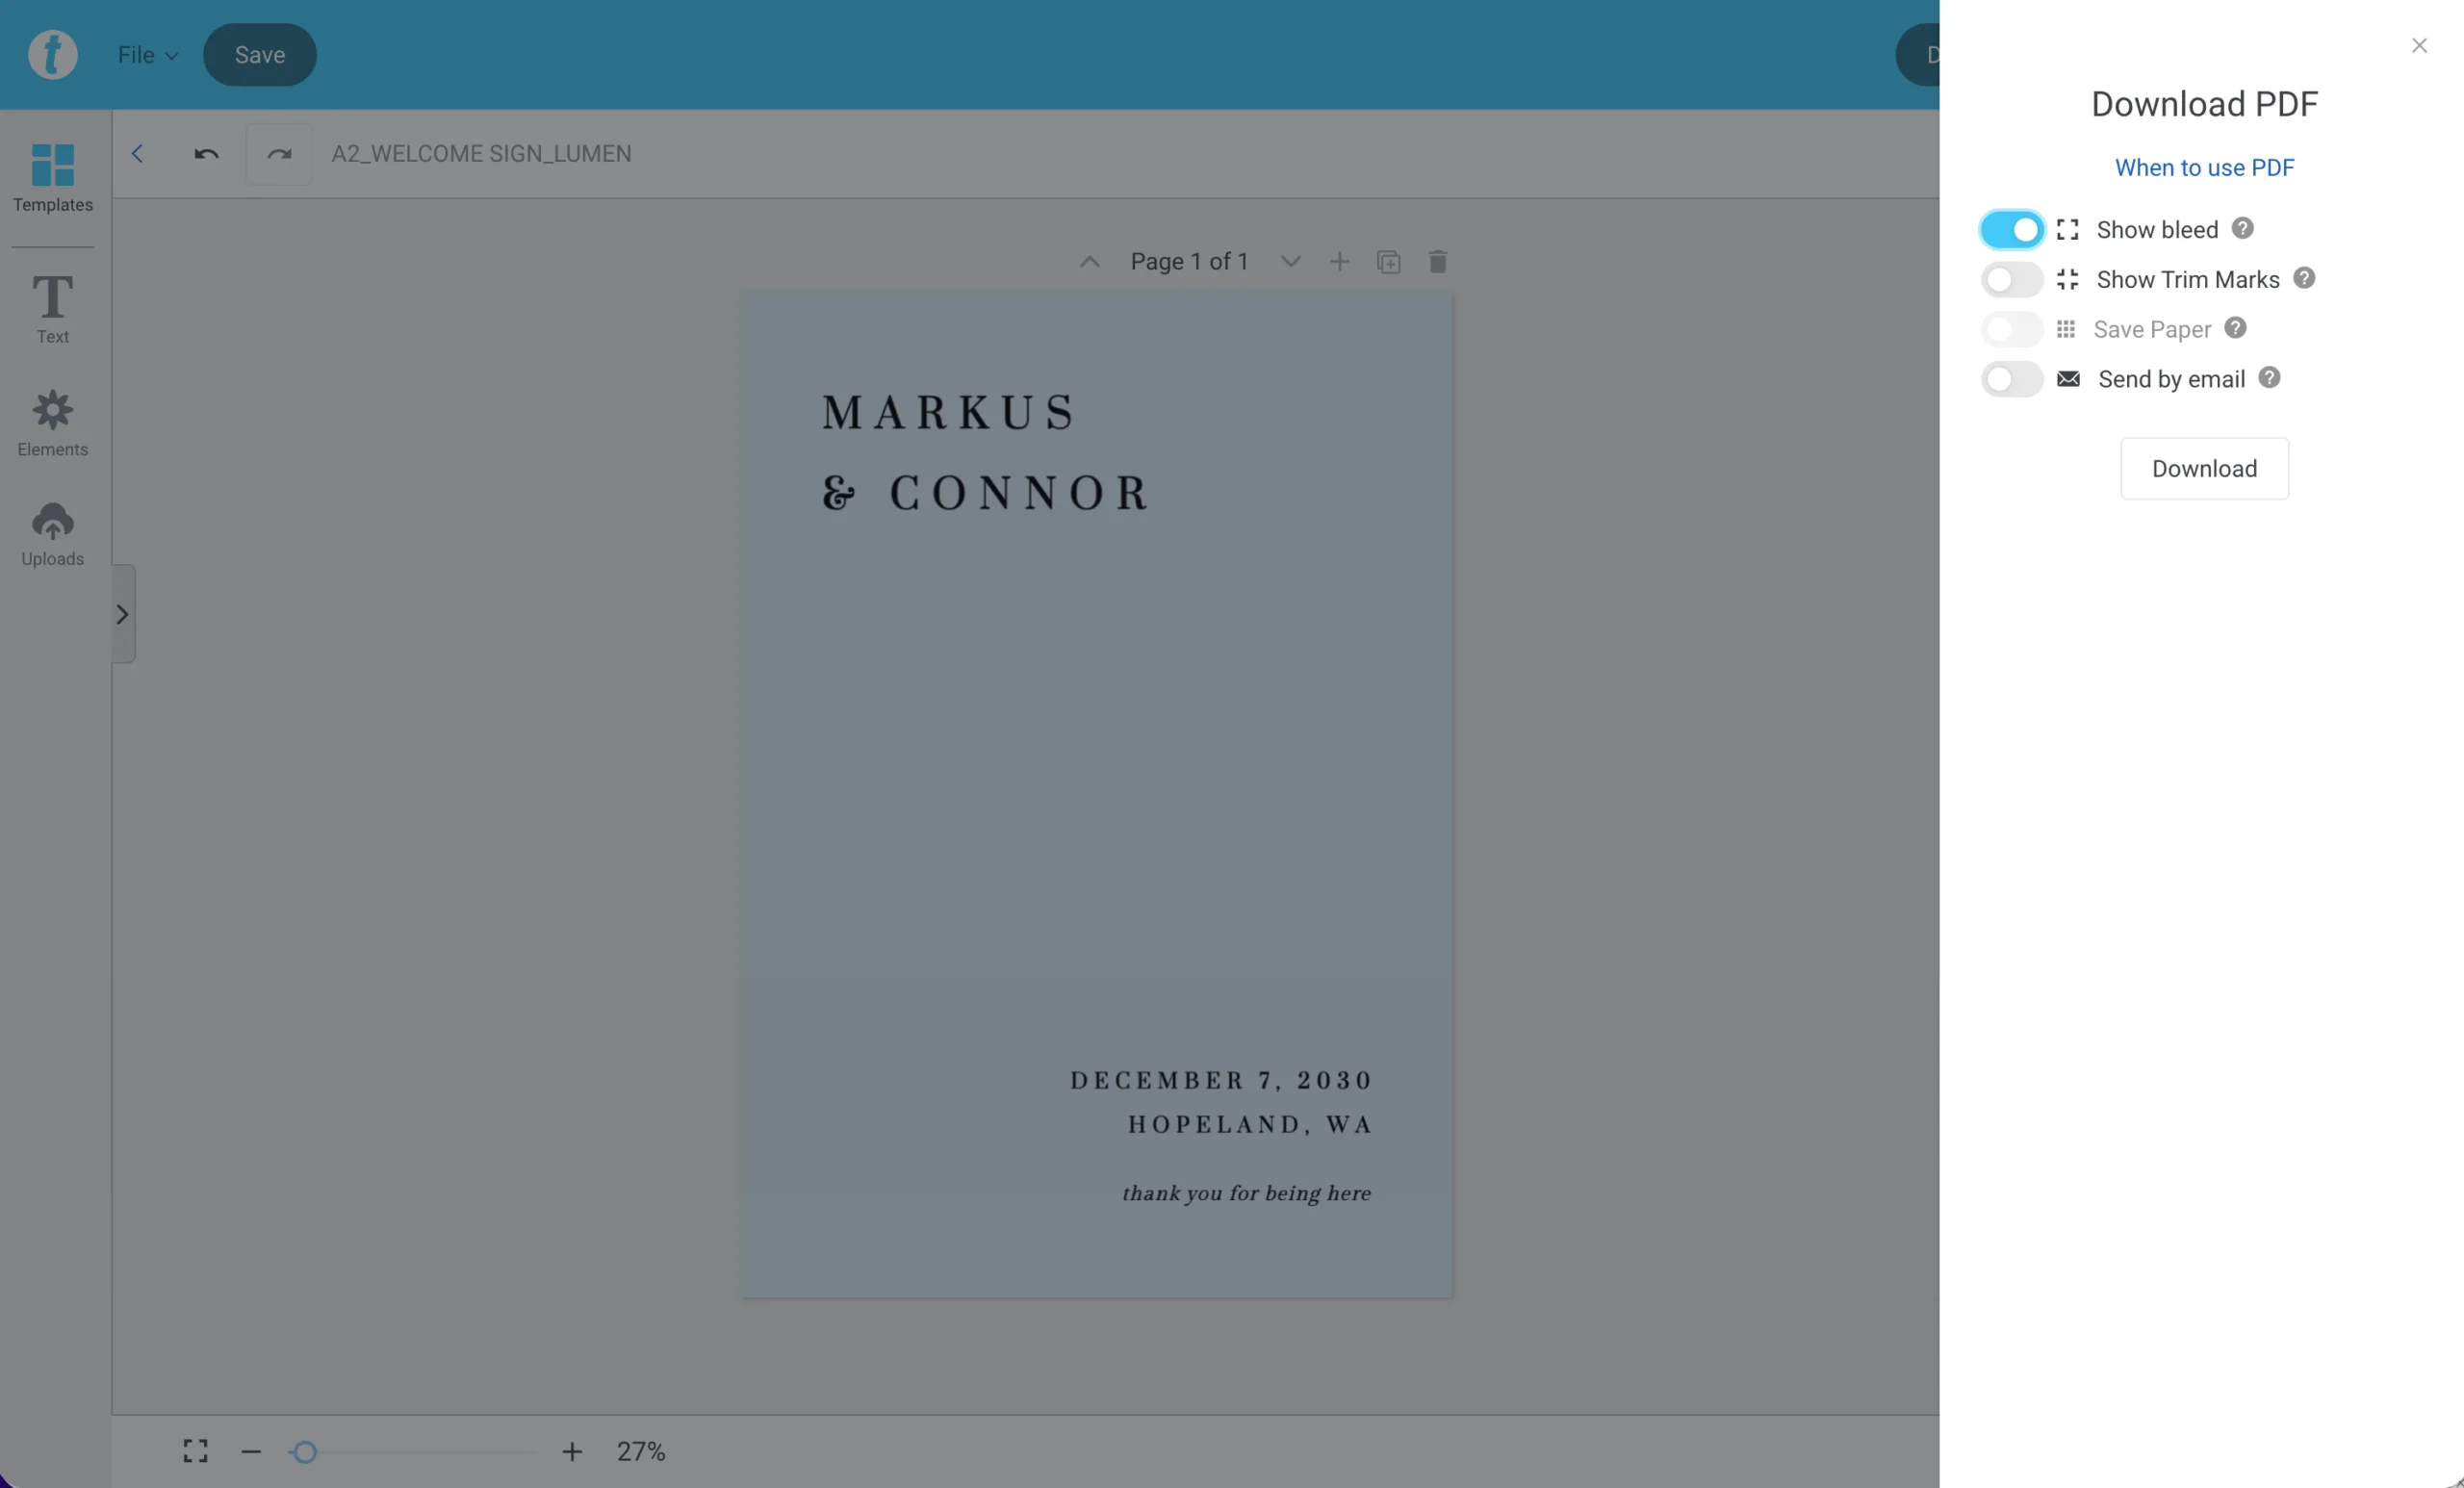
Exporting PDF Files with Background Colour (Add Bleed)
If you’ve added a background colour (or image) to your template, always export your file with bleed. This just means the program will automatically add 3.175 mm (0.125″) extra to each edge. This ensures the colour extends cleanly to the edges when printed, without leaving an unintended white border.
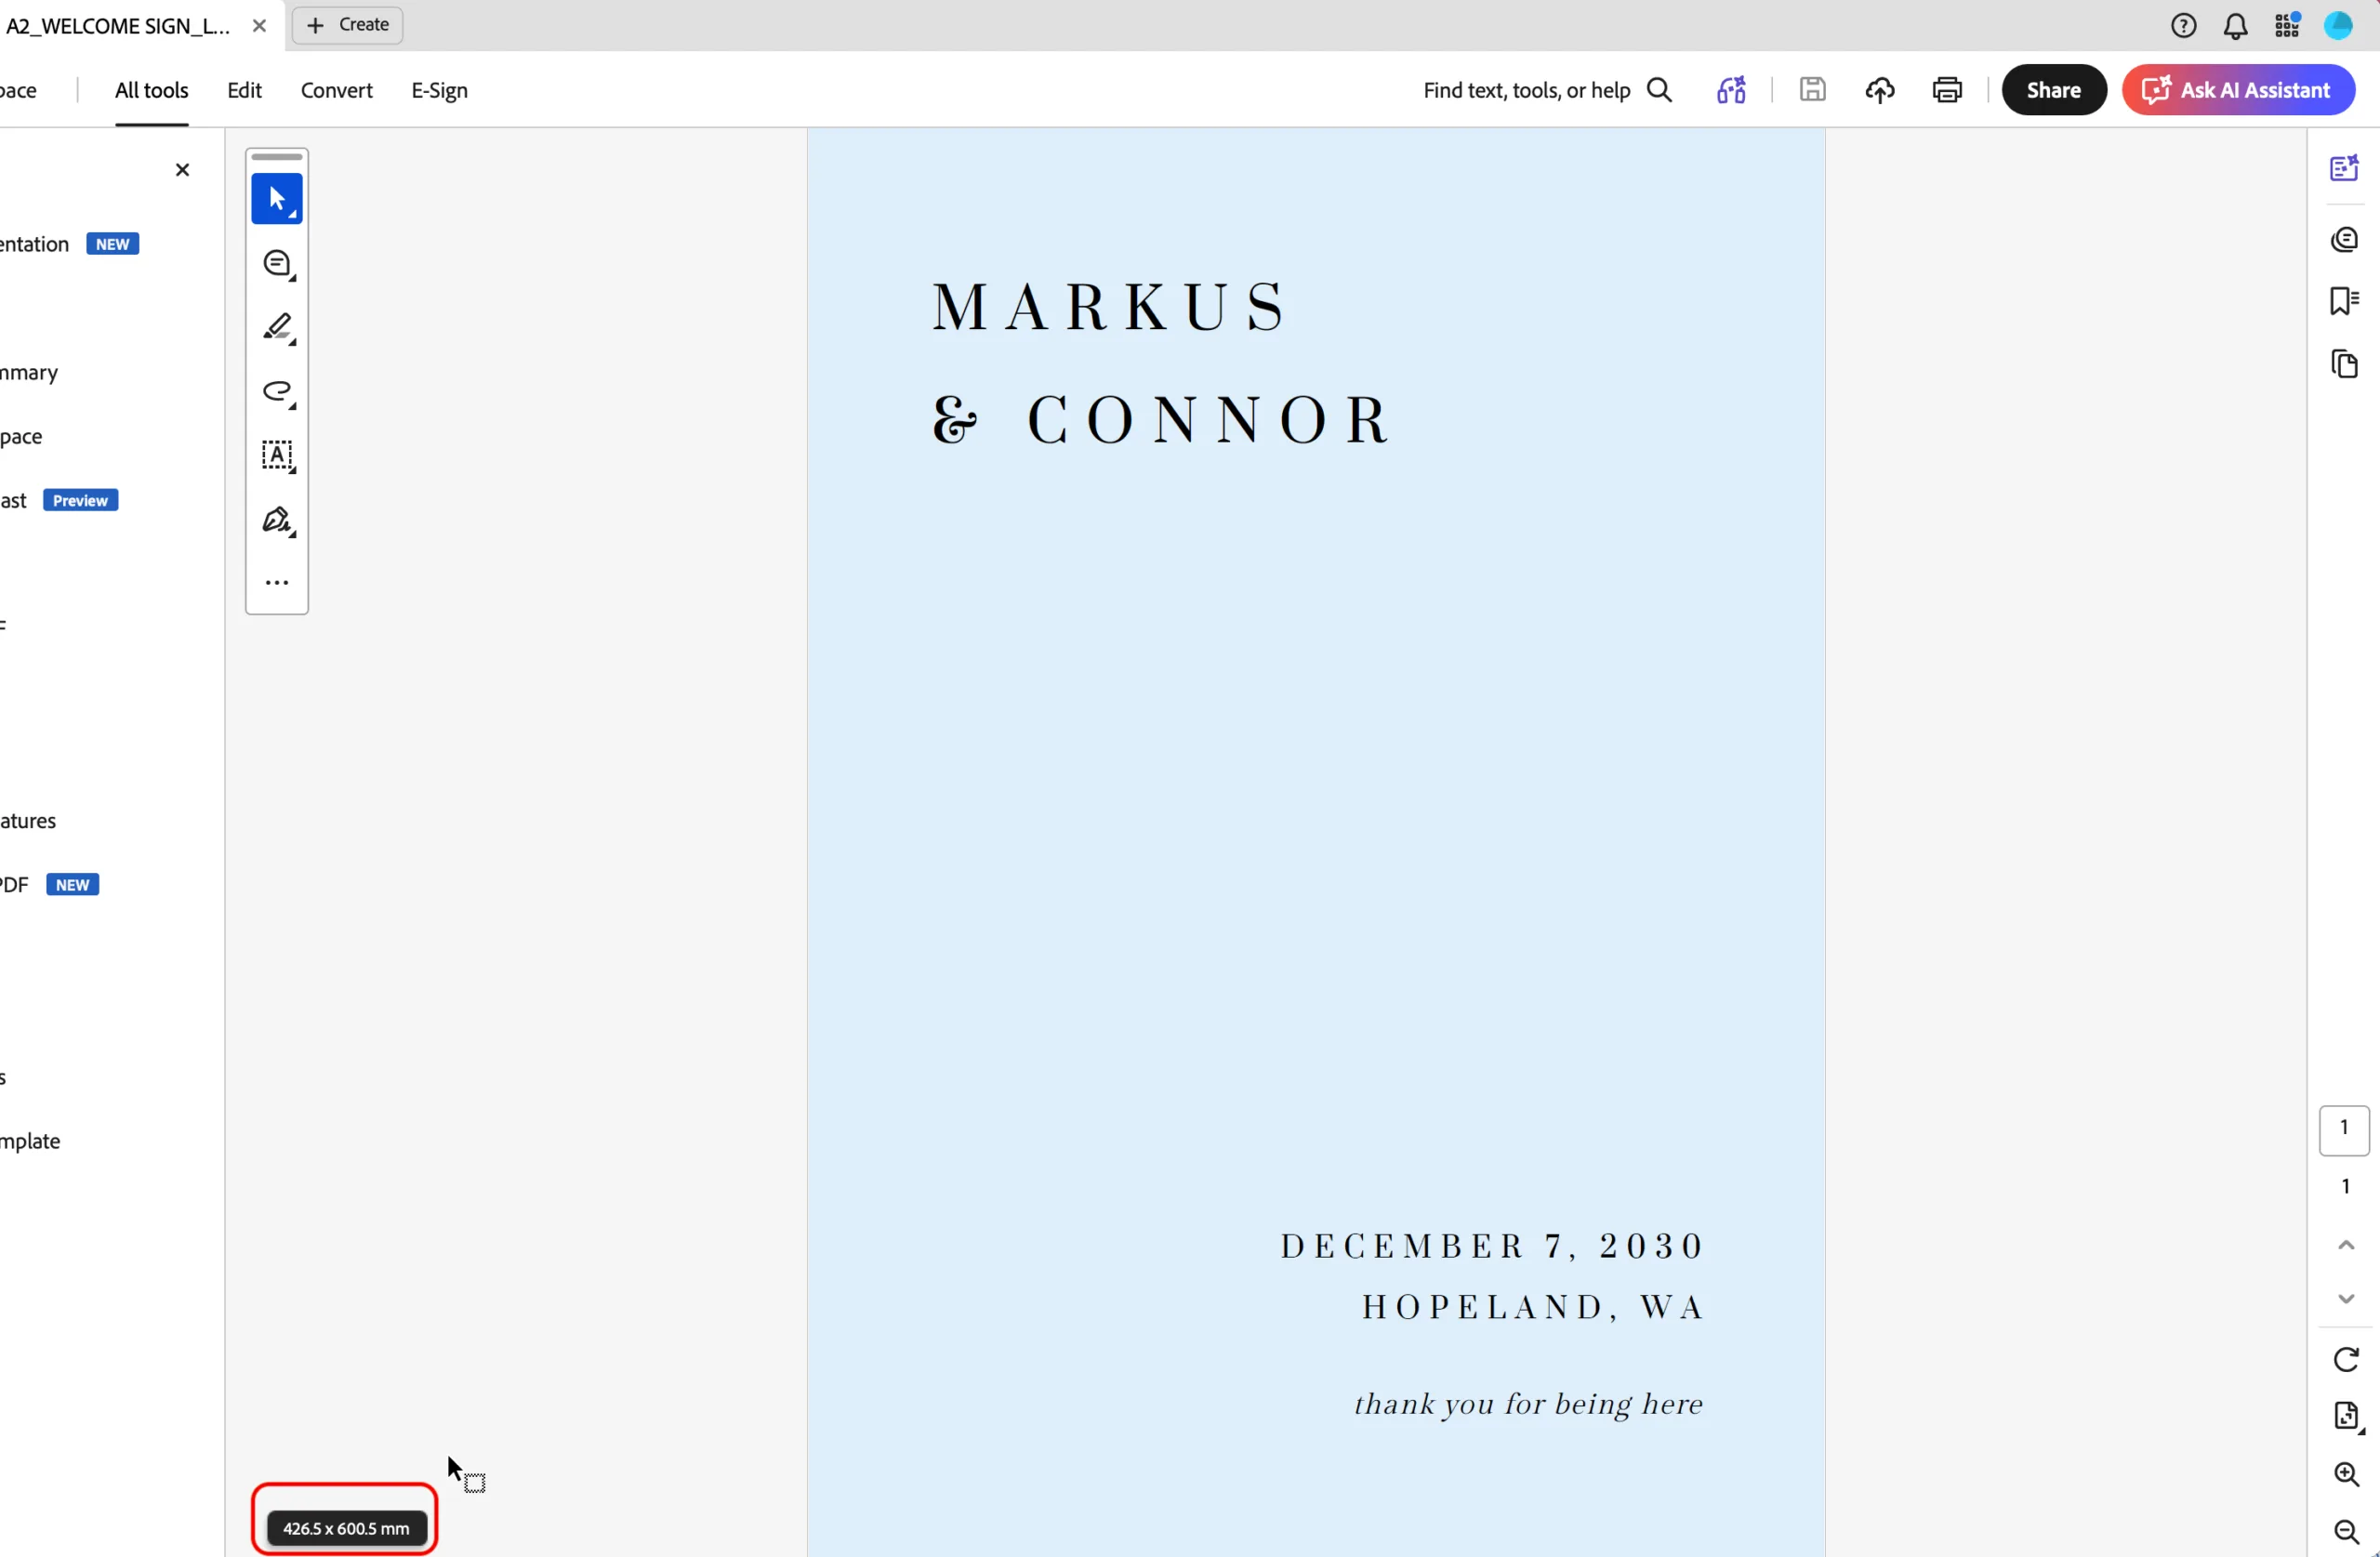
It’s good practice to let your printer know the exact size of your template and that bleed has been added, so they can trim it down to the correct size. If you’re exporting smaller items and printing them yourself at home, like invitations, select add bleed and trim marks.
In the example below, the A2 sign template (420 x 594 mm) is exported with bleed. The resulting PDF size is 426.5 x 600.5 mm.
Notes
- Bear in mind that colours may appear slightly different when printed, depending on your printer and paper stock.
- We recommend saving and downloading your design after each key change. Once you’ve made edits, it can be tricky to revert to a previous version without overwriting your progress.