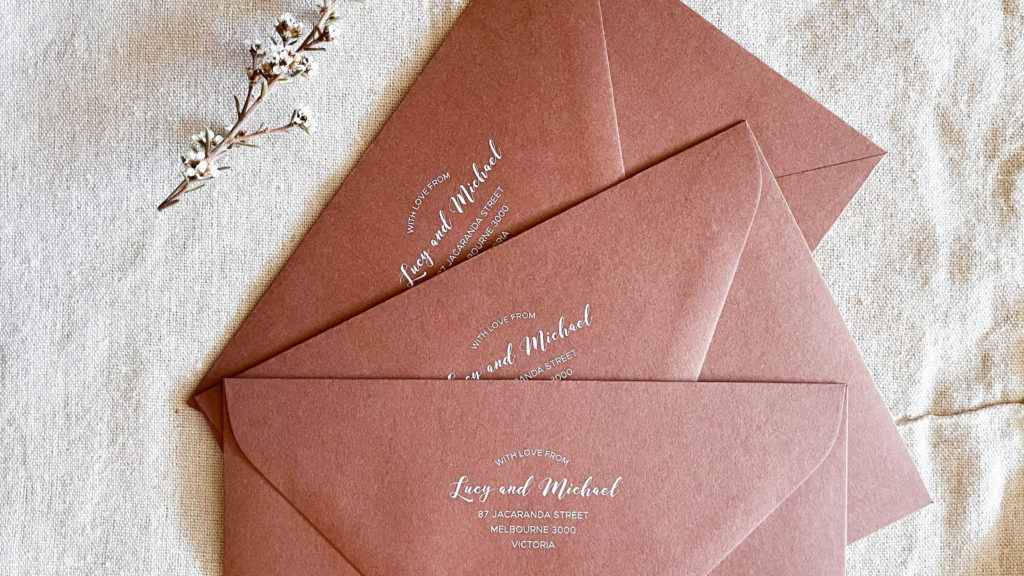
Printing your wedding stationery at a local print shop can be a practical and flexible option, especially if you value clear communication, hands-on support, and predictable timelines. Local printers are often well equipped to handle invitations, day-of stationery, and signage, and they can help troubleshoot issues before anything goes to print.
This guide walks through the process step by step—from first contact to final pickup—so you know what information to prepare, what decisions you’ll need to make, and how to avoid common printing issues along the way.
Why Use a Local Print Shop?
A local printer gives you direct access to the people producing your stationery. This makes it easier to ask questions, see paper samples, and review test prints if needed. It can also simplify turnaround times, particularly if you are working to a fixed deadline or printing in stages.
Local print shops are typically well suited to:
- Digital printing for invitations and inserts
- Small to medium print runs
- Short turnaround times
- Projects that benefit from in-person clarification
- Items that require custom sizes or die-cutting
Step 1: Making First Contact
The process usually starts with an email enquiry. This is where clarity matters most. The more specific you are, the easier it is for the printer to confirm whether they can help and to provide an accurate quote.
If your files are ready, it’s best to include them with your initial enquiry. You can also outline the following details:
- Finished size (for example, A6, A5, DL, or custom dimensions)
- Colour or black and white
- Single-sided or double-sided printing
- Quantity (include a small buffer for spares)
- Paper stock
If you already know the paper stock, include the name and weight. If you don’t, describing what you want is usually enough. For example:
- Smooth or textured
- White, cream, or coloured
- Light, medium, or heavy weight
If you’re unsure about any of these details, many print shops are happy to talk things through over the phone or in person. They (or you) may also suggest sample prints so you can see how your design works on different papers.
Step 2: Reviewing the Quote
Once the printer has enough information, they’ll provide a quote. This should clearly outline:
- Printing costs including reprint fees
- Any setup or file-check fees
- Paper costs (if applicable)
- Turnaround time
This is also the right moment to clarify invoicing and payment terms. Some printers require payment upfront, while others invoice on completion. If you’re working to a deadline, confirm how long printing will take once files are approved.
If anything in the quote is unclear, it’s best to ask before moving forward. Adjustments are easiest at this stage.
Step 3: Checking Your Files Carefully
Before giving final approval, review your files one last time. This step is often underestimated, but it’s one of the most important.
Check for:
- Spelling and punctuation
- Correct dates, times, and addresses
- Consistent alignment and margins
- Correct page order for double-sided pieces
- Bleed applied on designs that go over the edge of the page
For smaller items like invitations or detail cards, you can request a test print. For larger items such as seating charts or welcome signs, you can ask the printer to do a pre-print check for you. There may be a small fee for this, but it can help catch issues that aren’t obvious on screen, such as colour shifts or sizing errors.
If you are particular about colour or finish, a test print is usually worthwhile.
Step 4: Printing
Once files are approved, the printer will begin production. At this stage, changes are typically limited or no longer possible, so it’s important to be confident in your approval.
Printing timelines can vary depending on quantity, paper availability, and current workload. Your printer should be able to give you a realistic completion date.
Step 5: Payment, Pickup, or Delivery
After printing is complete, you’ll finalise payment if it hasn’t already been made. You can then either collect your stationery in person or arrange delivery.
If you’re picking up, it’s a good idea to do a quick check before leaving:
- Count the quantity
- Check one or two pieces for print consistency
- Confirm everything you ordered is included
If items are being delivered, ask about packaging to ensure your stationery arrives flat and protected.
Common Mistakes to Avoid
- Sending incomplete information or using incorrect print terminology (for example, hot gold foiling and digital metallic gold printing are not the same)
- Not confirming your requirements properly
- Skipping a final file check or proof before printing
- Ordering the exact quantity with no extras
- Assuming colours will print exactly as they appear on screen (they won’t)
A Clear, Practical Process
Working with a local print shop doesn’t need to be complicated. By preparing clear information, reviewing your files carefully, and allowing time for questions or test prints, you can move through the process smoothly. The result is stress-free wedding stationery that feels professional, accurate, and ready to use.