This article was last updated on 15/11/2025.
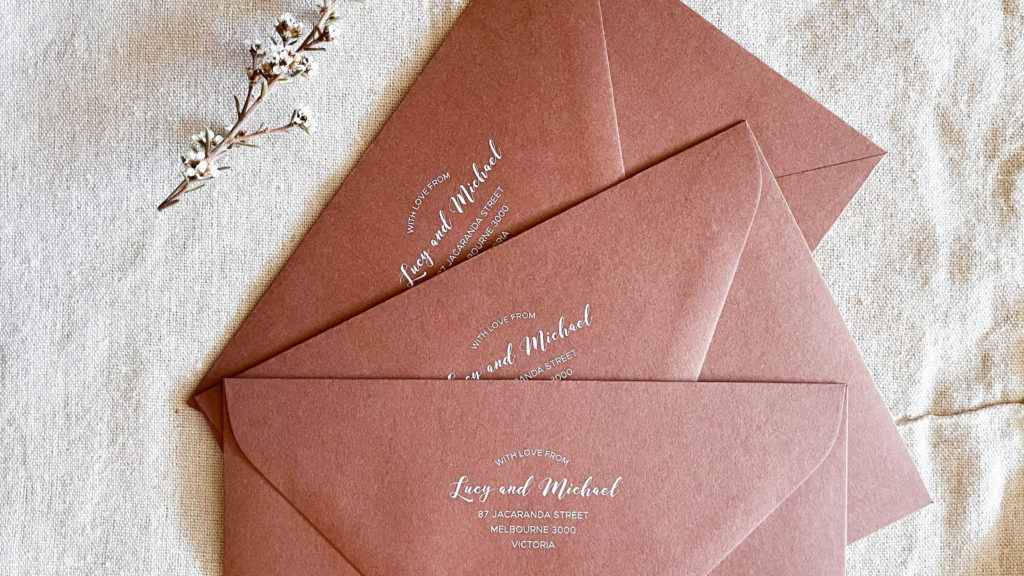
Whether you’ve just wrapped up a wedding, birthday, or baby shower, sending a proper thank you card is the cherry on top. And thanks to MOO’s super user-friendly system, turning your design into a real-life printed card is easy (and, dare we say, quite fun!).
Here’s our step-by-step guide on how to print thank you cards with MOO using our editable templates. This guide will show you how to use our templates, export your files, and get them printed through MOO (whether you’re going with a flat or folded card).

Printing Flat Thank You Cards With MOO
1. Design your card using our templates
Start with one of our editable templates and customise it to suit your event. Whether you’re going minimal, romantic, or modern, our templates are designed to be the foundation for your creativity. In this tutorial, we’ll be using our Marais Thank You Card Template.
2. Export your files
If you’re using a flat card template, we recommend exporting the pages as individual PDF files for the best print quality. For thank you cards with a double-sided design, Templett doesn’t split pages automatically when exporting as PDF, so you’ll need to do it manually—one page at a time. Here’s how:
- Select your front page and click Download PDF
- In the Pages dropdown, select “Current Page Only”
- It will download just the page currently on your canvas
- Switch to the back design and repeat the steps
You’ll end up with two separate PDF files: one for the front, and one for the back. These are exactly what MOO needs when you upload your design.
Avoid exporting as a combined multi-page PDF—it won’t work with MOO’s uploader, and splitting it later can be a pain unless you have a PDF editing program like Adobe Acrobat. You can also export all pages at once as JPG files if you prefer. Templett will automatically split the design into two image files—one for each side.


3. Print thank you cards with MOO
Sizing
Our thank you card templates are designed at A6 size (105 x 148mm), so MOO’s Small Postcard option is perfect.
Paper Stock
If your card includes a photo or has bold colours, we recommend:
- Original: smooth and affordable
- Super: slightly thicker and more velvety in touch
Both cardstocks handle colour and detail beautifully.
Coating
Want to write on your cards? Opt for “Coated on the back only”. This leaves one side uncoated and easier to write on without smudging. If no writing is required, “Coated on both sides” works best.
Finish
- Matte: Soft and modern (our absolute fave for photo cards!)
- Gloss: Adds some shine onto the photo
4. Upload your design
Click “Upload a full design”. You’ll be taken to their project builder. From there, select your page orientation (portrait or landscape) and simply upload your front and back PDFs into the correct sections.
Do a quick double-check to make sure:
- Your text isn’t too close to the edge
- Nothing important is cut off
- The preview looks crisp
Then click through to order, sit back, and wait for your thank you cards to arrive. 🙌


Printing Folded Thank You Cards With MOO
1. Design your template
As mentioned before, start with one of our editable templates and customise it to suit your event.
For folded cards, you’ll typically be working with three separate pages:
- The front of the card
- The back of the card (optional) – You can leave the back blank, or add a subtle detail like a logo, date, or monogram (our sticker seal templates can be used to design monograms).
- The inside (where your thank you message goes)
Note: When it comes to the inside, MOO doesn’t have an option to upload your own design. Instead, you can type a message directly in their online editor, using one of their font options. So when you’re designing, just focus on the outside—no need to prepare an inside JPG.
If you’d prefer to use the full inside design you created with our templates, it’s best to export the files as a PDF and have them printed through your local print shop instead. That way, you can keep the formatting of your inside pages.

2. Export your files
For folded thank you cards, we recommend exporting your design as JPGs.
Templett’s PDF export for folded cards places both the front and back designs on a single spread, which isn’t compatible with MOO’s uploader. You won’t be able to separate the panels for individual upload.
Instead, export each side as a JPG:
- The front design as one file
- The back design as a second file
Templett automatically creates separate JPGs for each page, so it’s the simplest option when printing folded cards through MOO.


3. Print thank you cards with MOO
Sizing
MOO uses standard A6 size for their Greeting Cards, which is exactly what our templates are designed to.
Paper Stock
All MOO greeting cards are printed on 340gsm cardstock by default. Unlike flat cards, there’s no paper stock selection for this format. (Fortunately, it’s a lovely, weighty stock that feels premium in hand.)
4. Upload your design
Click “Design here online” to open the project builder. Choose your page orientation (portrait or landscape), then upload your front and back JPGs into the correct panels.
For the inside of the card, you can type your message directly in MOO’s editor using their available fonts and text tools.
And that’s it—easy and fuss-free.


Notes
- Before ordering, double-check that everything looks exactly how you want it—layout, typos, text alignment, image quality, and spacing.
- If you need to make changes, just head back into Templett, make your edits, and re-download the updated files.
- We recommend taking a look at MOO’s PDF proof before printing. Once it all looks good, you’re ready to hit print.
—
Please note that some of the links in this post are affiliate links and any purchase made through the links will give us a small commission (at absolutely no extra cost to you). Please read our Affiliate Disclaimer for more info.