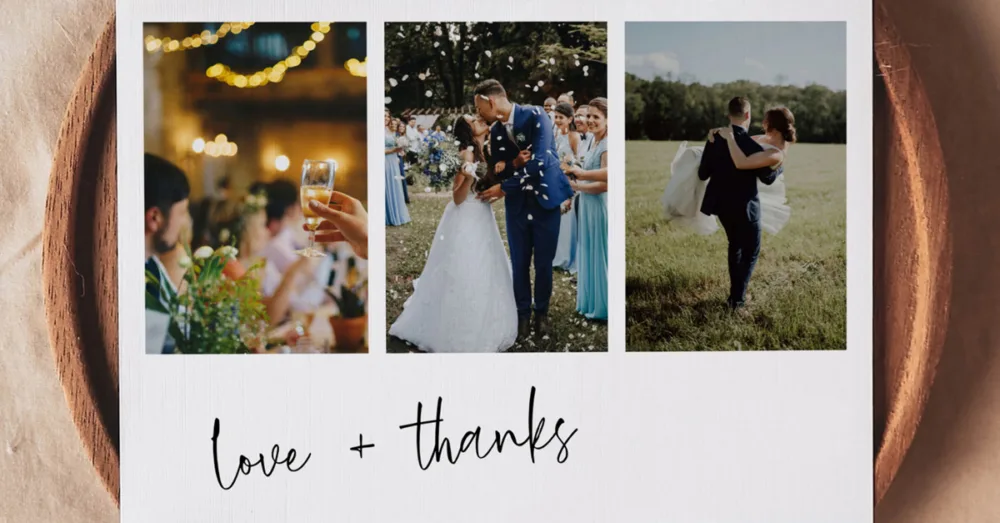
Once you’ve finalised your stationery templates, it’s time to print them. This guide walks you through the whole process so you can get it right the first time.
How to Export Your Template from Templett
Before anything goes to print, you need to download your finished design as a PDF. Here’s how:
- Open your template in Templett and make sure all your edits are finalised.
- Click the Download button in the top right corner.
- Select PDF as your file format. This is what most professional printers require. If your design has a coloured background or elements that run to the edge of the page, toggle Bleed on. This extends your design by a few millimetres and prevents thin white edges after trimming.
- If your printer has asked for trim marks, toggle those on too.
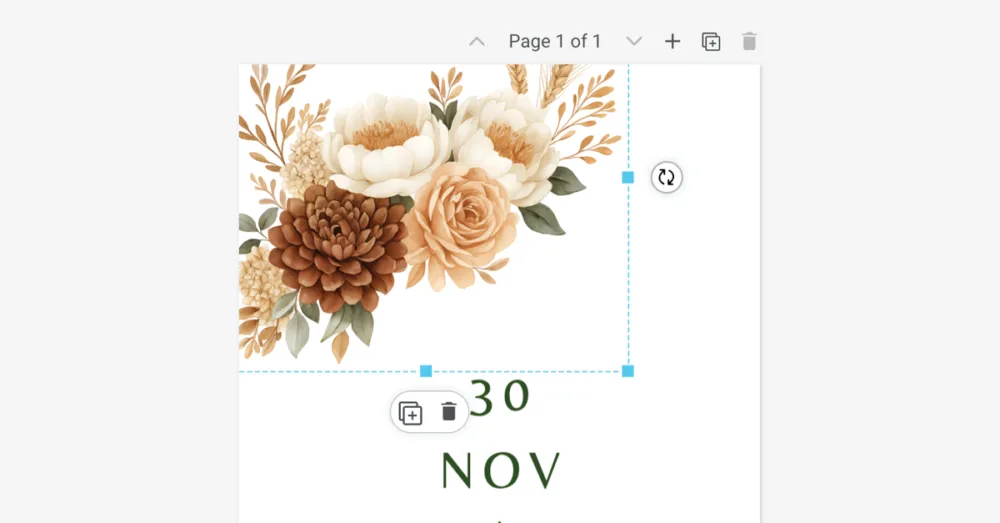
- For place cards, table numbers or any template with multiple names, export as a multi-page PDF so each name or number sits on its own page.
- Hit download and save the file somewhere easy to find.
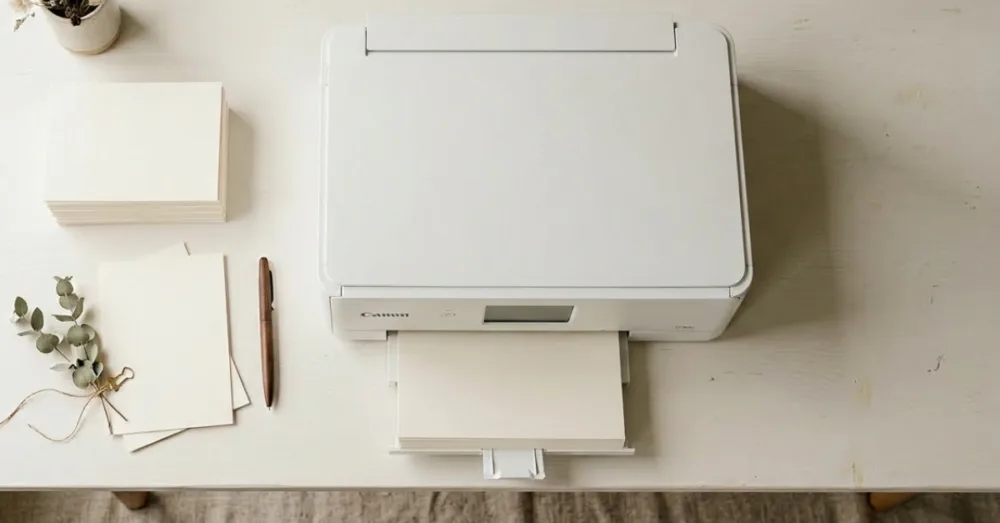
Print at Home or Use a Print Shop?
This is the question most people wrestle with, and our honest take: go professional wherever you can. The time you’ll spend troubleshooting your home printer, managing ink levels and manually trimming a stack of cards is rarely worth the saving (especially when you already have a wedding or event to organise!)
That said, home printing does have its place:
- Home printing works well for small quantities of place cards, table numbers, simpler menus and gift tags. Keep in mind that specialty paper costs around $10 for a pack of ten A4 sheets and ink adds up quickly, so it’s often not the budget option people expect.
- Professional printing is our recommendation for invitations, save the dates, ceremony booklets, seating charts and anything you need in volume. A professional printer will trim everything accurately, match colours more reliably and hand you back a finished product.
- Inkjet printers handle thicker cardstock and textured papers better. However, the ink is prone to running if it becomes wet or touches water.
- Laser printers are better suited to thinner papers. It’s great for full coloured items like envelope liners and belly bands.
If you’re printing 50 place cards at home, that’s 50 pieces to trim by hand. At that point, a local print shop will likely be faster, cheaper per unit and far less stressful.
Where to Get Your Templates Printed in Australia
We’ve done a lot of testing and put together a full guide to our recommended printers for each type of stationery. It covers invitations, signage, folded place cards, ceremony booklets and fabric signs — with pricing, paper options and tips for each.
See our full Where to Print guide here →
TL;DR: MOO, Officeworks and VistaPrint are reliable for invitations and small cards. For signage, local print shops are usually the fastest option. And for fabric signs, we work exclusively with APPLiK in Queensland. They’re familiar with our files and consistently deliver a beautiful result.
For our UK customers, Printed.com are our recommended online printer for wedding stationery. They have a dedicated department just for event stationery printing.
If you’re after more detailed information, check out our other posts on printing:
Where Can I Print Wedding Invitations in Australia?
How do I Print Signage for my Wedding or Event?
How to Print Wedding Stationery Locally
A Note on Colours
One thing that surprises a lot of people: your printed colours will look a little different to what you see on screen. Screens display colour in RGB (backlit), while printers use CMYK inks. We’ve written about it in more detail here: The Difference Between CMYK and RGB Colour Modes. Every monitor is calibrated differently too, so a soft blush on your laptop might print slightly warmer or cooler depending on the printer and paper stock.
Because Templett works in RGB, your file will be converted to CMYK by the printer. If the printer does the conversion, the results can be unpredictable.
Here are a few things you can do to get the best result:
- Stick to softer, more muted tones in your design. Dusty pinks, warm neutrals, sage greens and off-whites all translate beautifully to print. Highly saturated or neon colours are the most likely to cause disappointment.
- Request a test print before your full run. Most local print shops are happy to do a single test print. It’s the most reliable way to catch any colour surprises before you commit.
- Ask your printer if they accept RGB PDFs. High-end digital printers can set their system to accept RGB files and handle the conversion accurately on their end.
- Avoid judging by your phone screen. Phone screens are bright and highly saturated, which makes colours look more vivid than they will in print. View your design on a laptop or desktop monitor for a more realistic preview.
The gap between screen and print is a known limitation of designing in RGB, not a flaw in your template. A test print is always your best friend.
Tips for Specific Template Types
Invitations and small cards Use cardstock above 270 gsm for anything that needs to feel substantial or stand upright. MOO’s Medium size (127 x 178 mm) matches our standard invitation templates perfectly.
Signage For framed indoor signs, a poster print is the most affordable option. A1 frames from IKEA or Kmart fit standard prints. For easel-mounted signs, foam board is the most common choice. Outdoor events call for corflute, which is waterproof and handles wind well.
Folded place cards Send your multi-page PDF to a local print shop and ask them to print, trim to size and score the centre fold. It’s a much easier process than attempting it at home.
Ceremony booklets Local print shops handle these easily. If you’re printing at home, open the PDF in Adobe Acrobat Reader and use the Booklet print setting. It arranges the pages correctly for folding automatically. We have a dedicated guide on how to print A5 ceremony booklets at home if you want the full walkthrough.
Ready to Get Started?
You have enough on your plate without printing becoming a project in itself. Our templates are designed to make the whole process as smooth as possible, and our printing guide has recommendations for once your design is ready to go.
—
Please note that some of the links in this post are affiliate links and any purchase made through the links will give us a small commission (at absolutely no extra cost to you). Please read our Affiliate Disclaimer for more info.