This article was last updated on 18/06/2026.
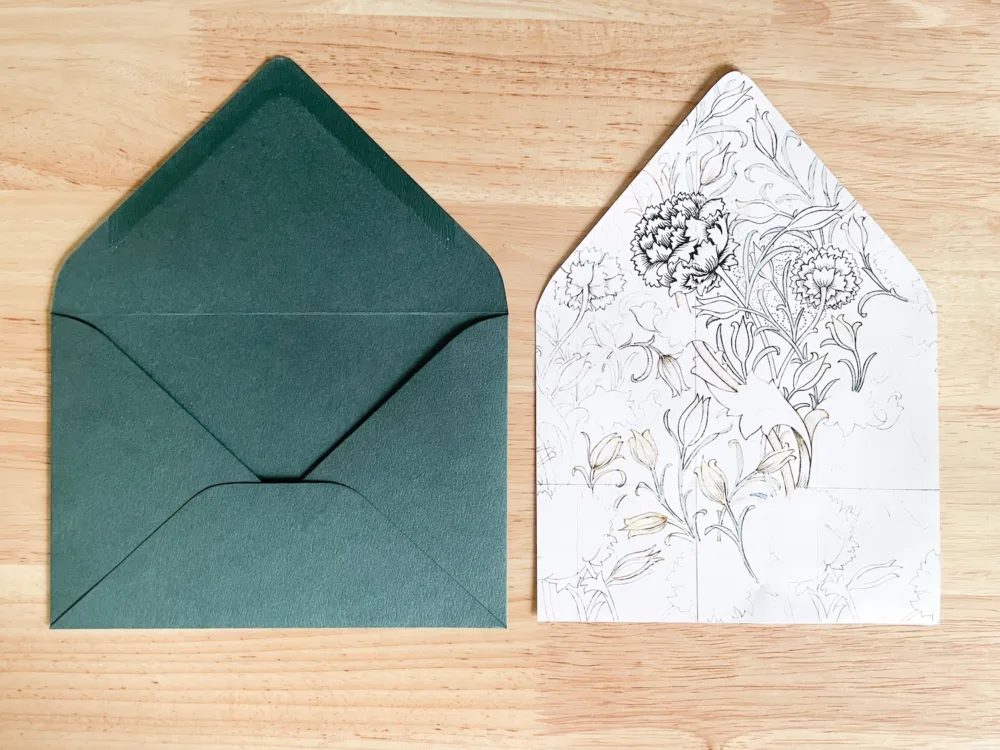
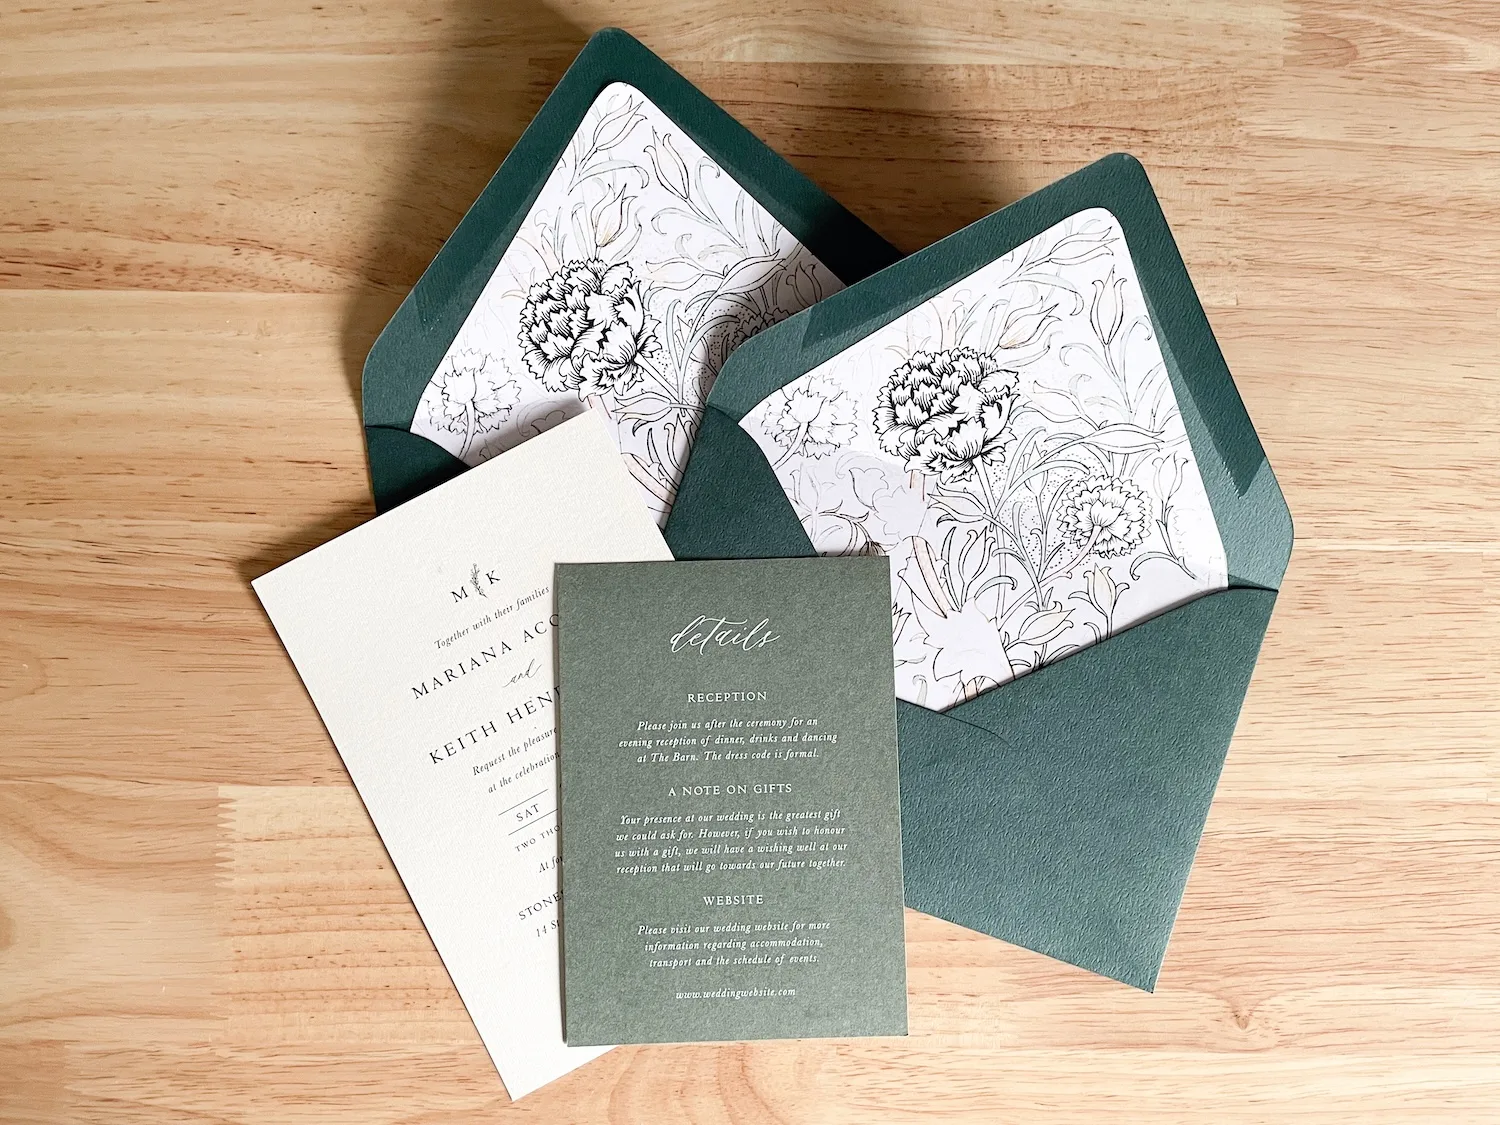
This tutorial walks you through how to use our printable envelope liner templates. We’re using the Wild Tulip design as our example, but the process is the same for every liner in the shop.
Making your own envelope liners is honestly one of the easiest ways to level up your stationery. It’s quick, affordable, and adds that little something extra to your invitations or cards. Once you know how to do it, you’ll never go back to plain envelopes.
What You Need
- Your printable envelope liner templates from The Hello Bureau
- A printer: inkjet or laser (laser is more economical if you’re printing a lot). Alternatively, you can print at a self-serve copy centre or through a local print shop.
- Envelopes
- A4 (210 x 297mm) or US Letter (8.5″ x 11″) paper of your choice
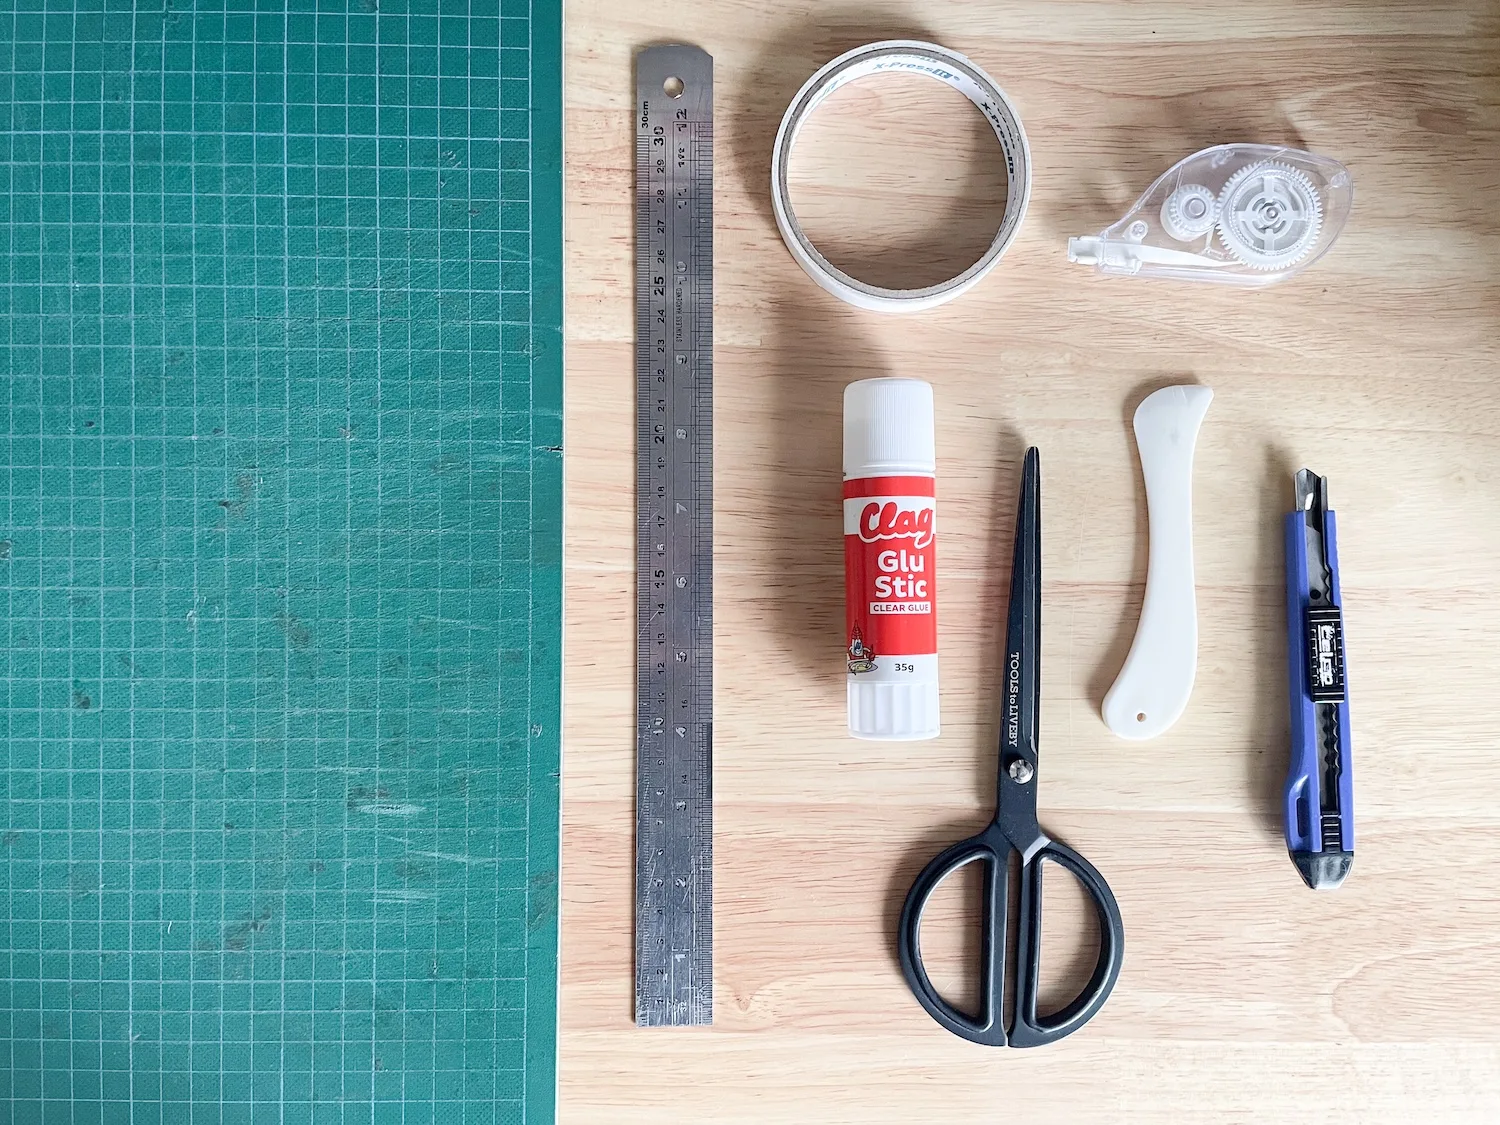
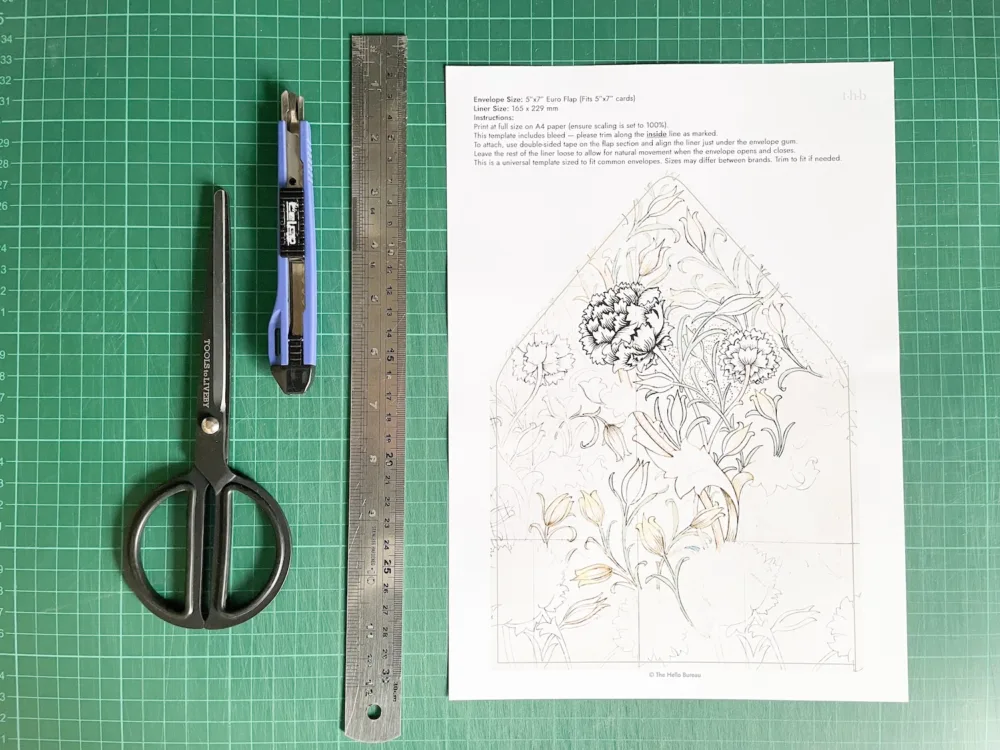
- Scissors or a craft knife, cutting mat and ruler
- Double-sided tape, glue stick or glue tape roller
- Optional: bone folder for creasing, envelope corner punch
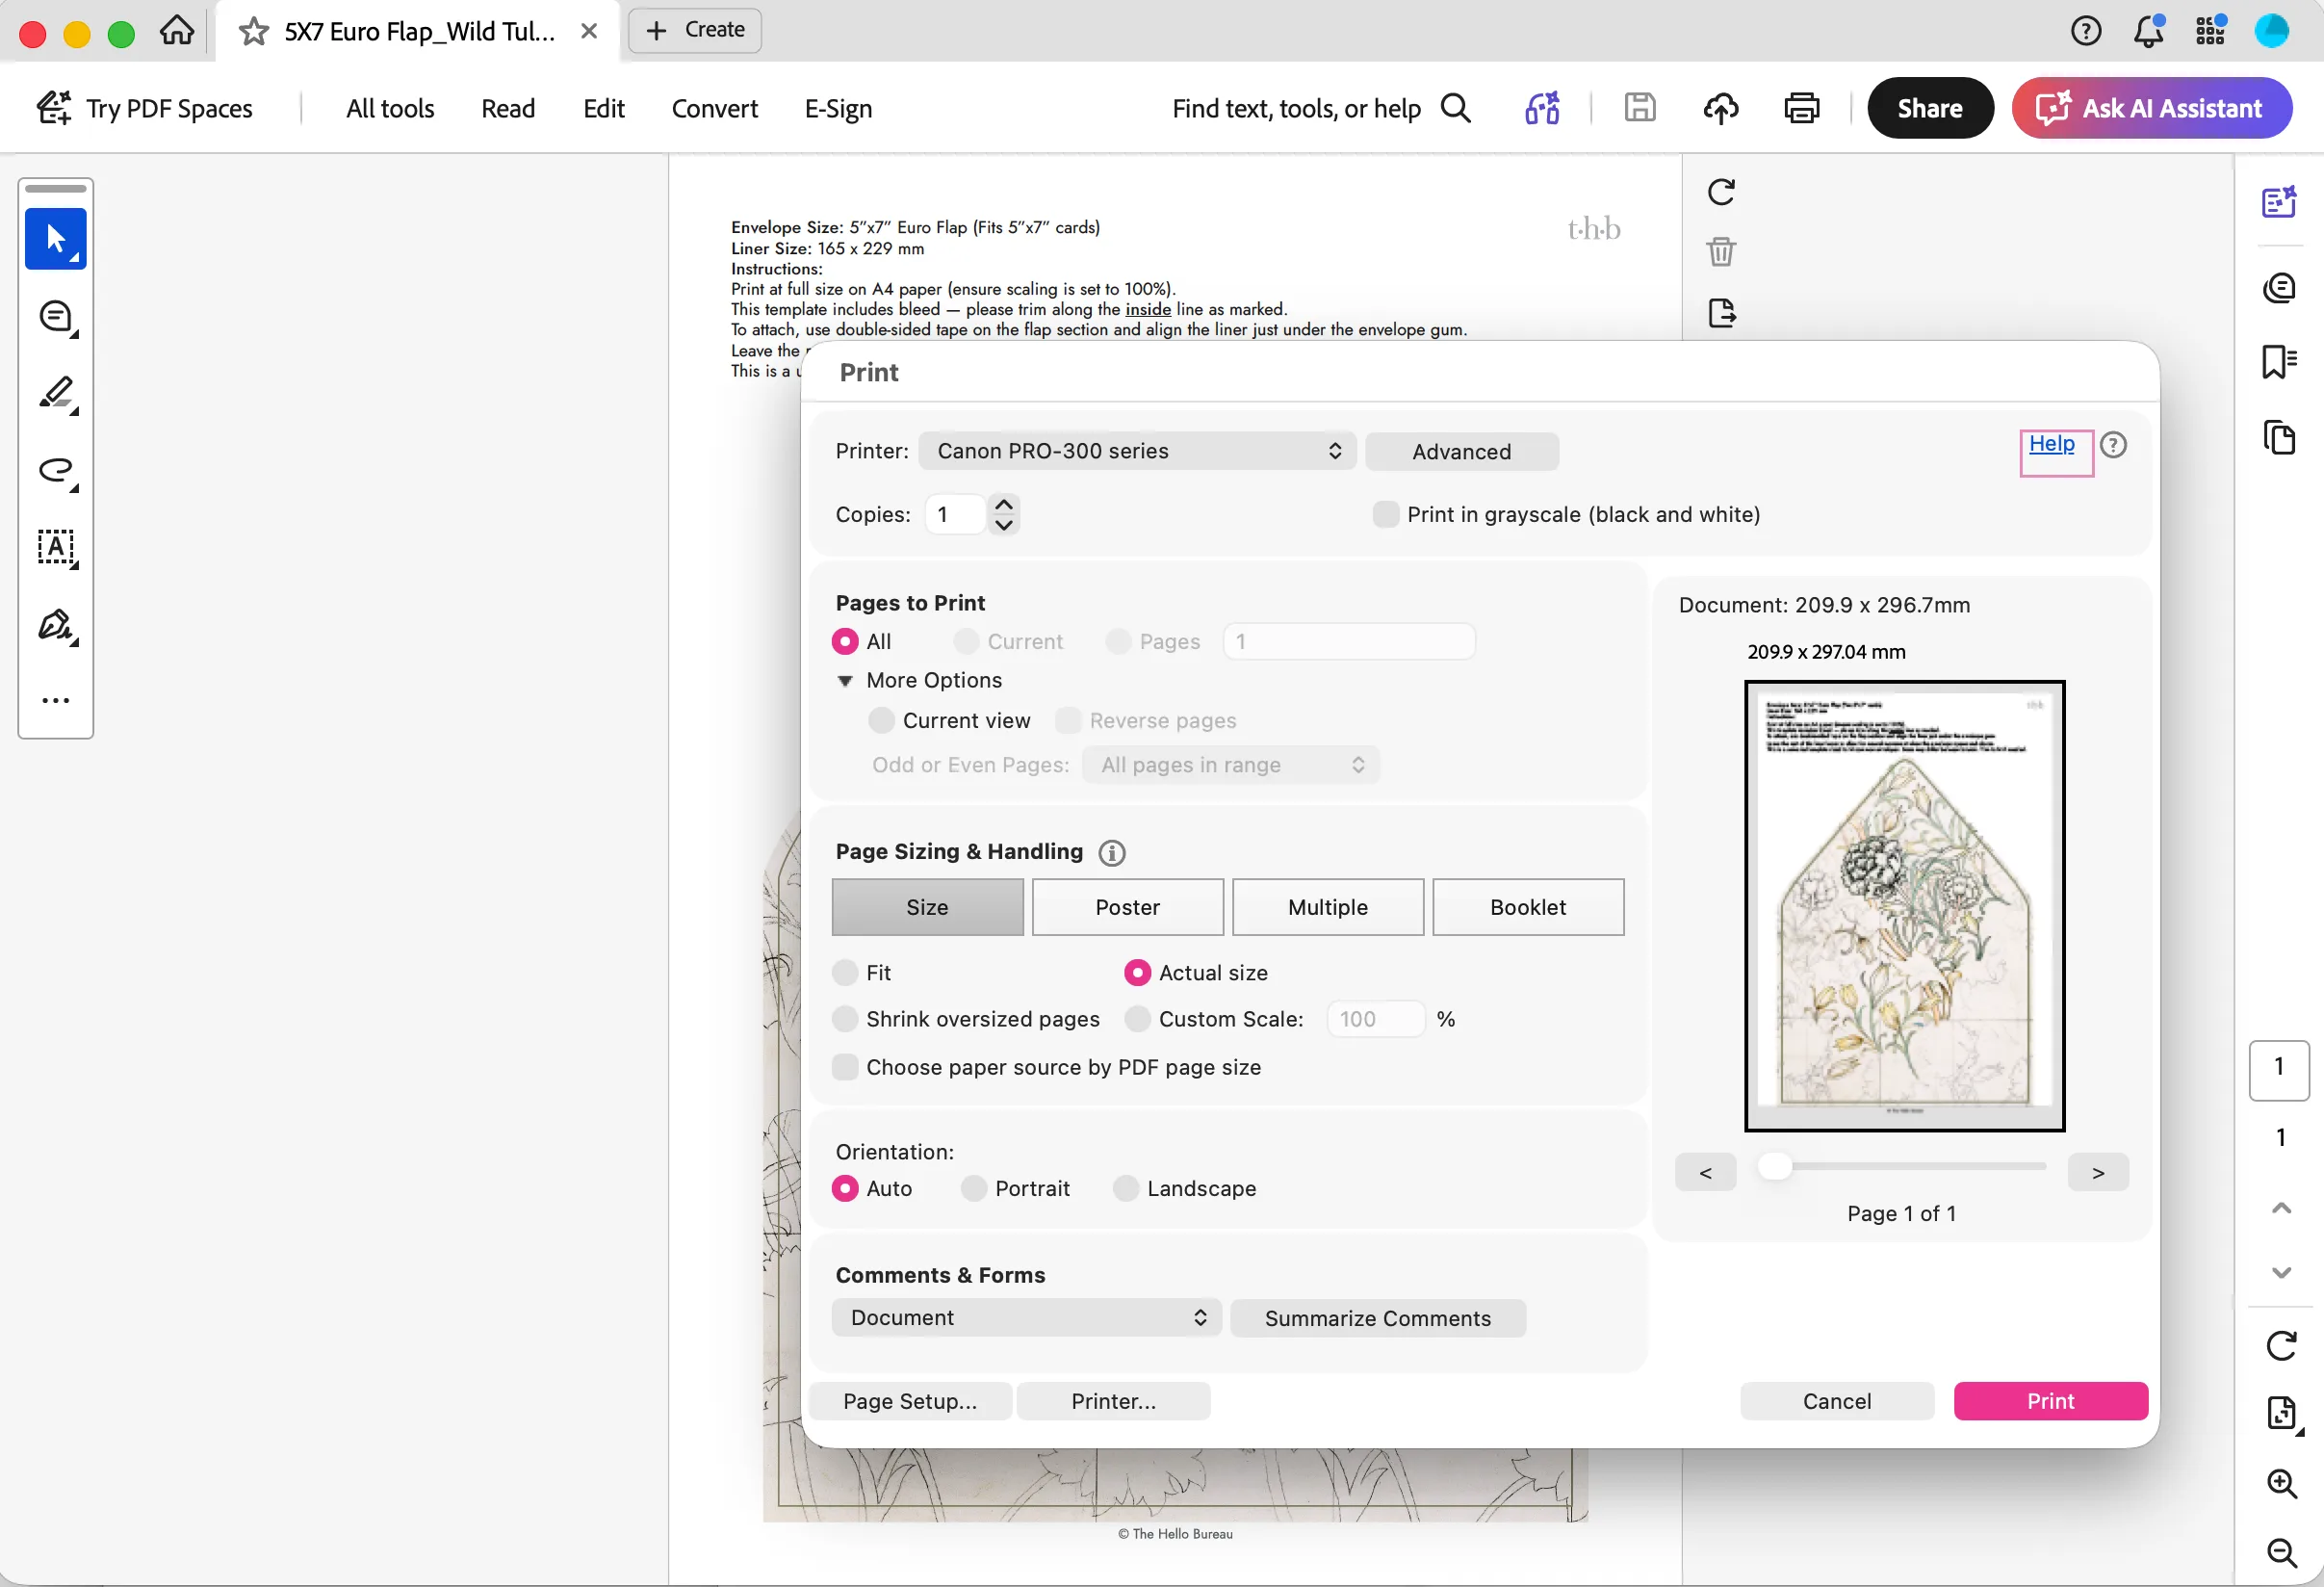
1. Print Your Envelope Liner Templates
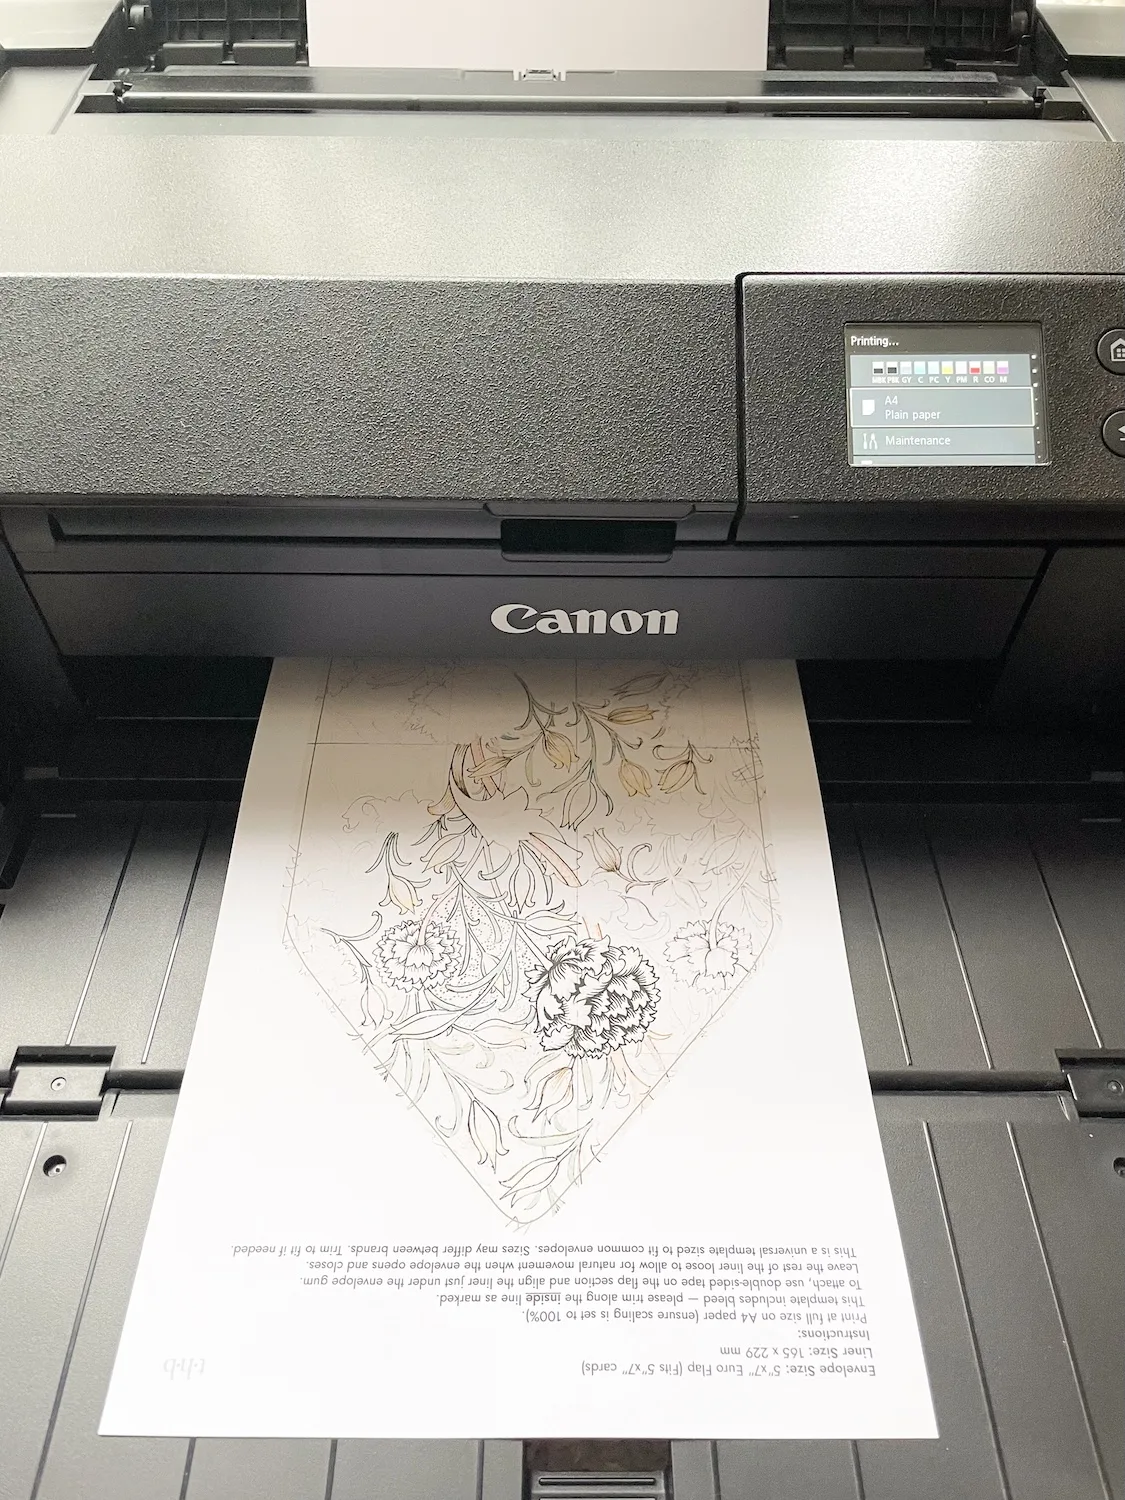
Start by downloading and opening your PDF in any PDF reader. Print a test copy at 100% scale (actual size) first, and once you’re happy with how it fits your envelope, go ahead and print the rest.
Smooth, uncoated paper tends to give the best results, especially if your liner is image or colour-heavy. Avoid heavily textured stock as it can affect how well the liner folds and adheres.
Please note: Colours may look different on paper than they do on screen. Printer settings, paper stock, ink levels and screen calibration can all affect the final result. When in doubt, always print one copy first.
2. Cut Your Envelope Liners
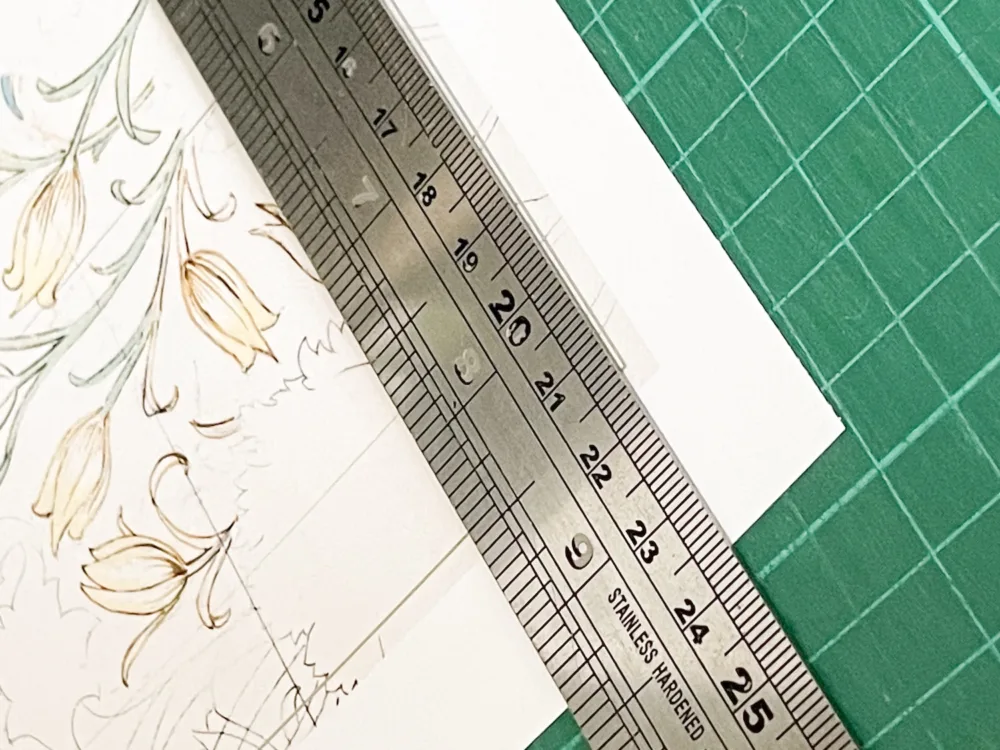
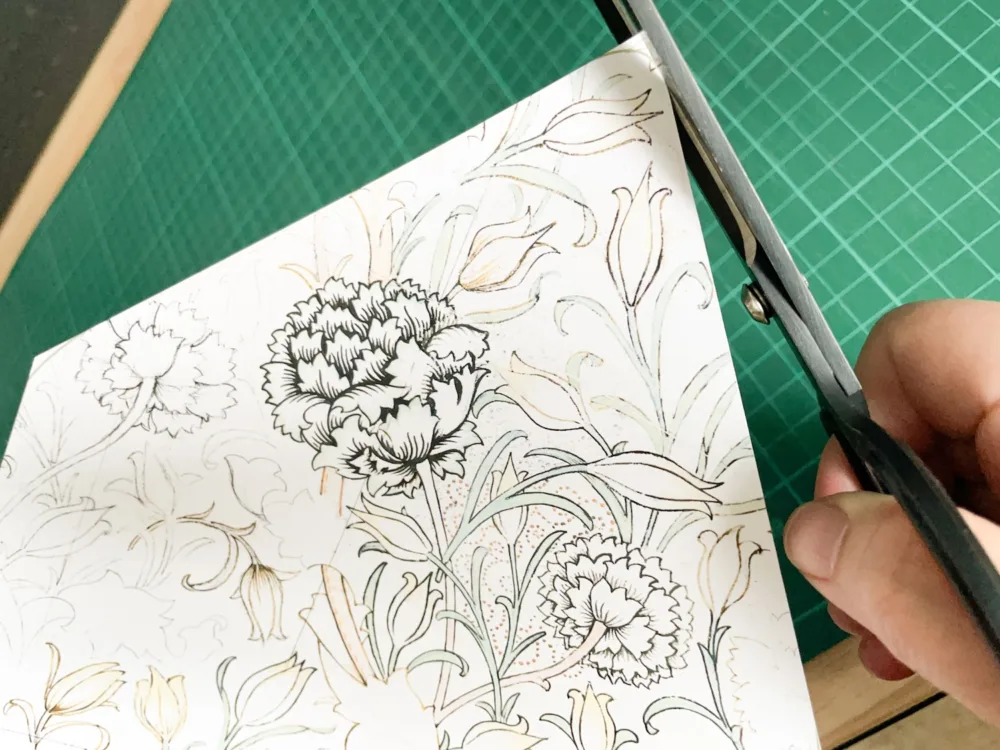
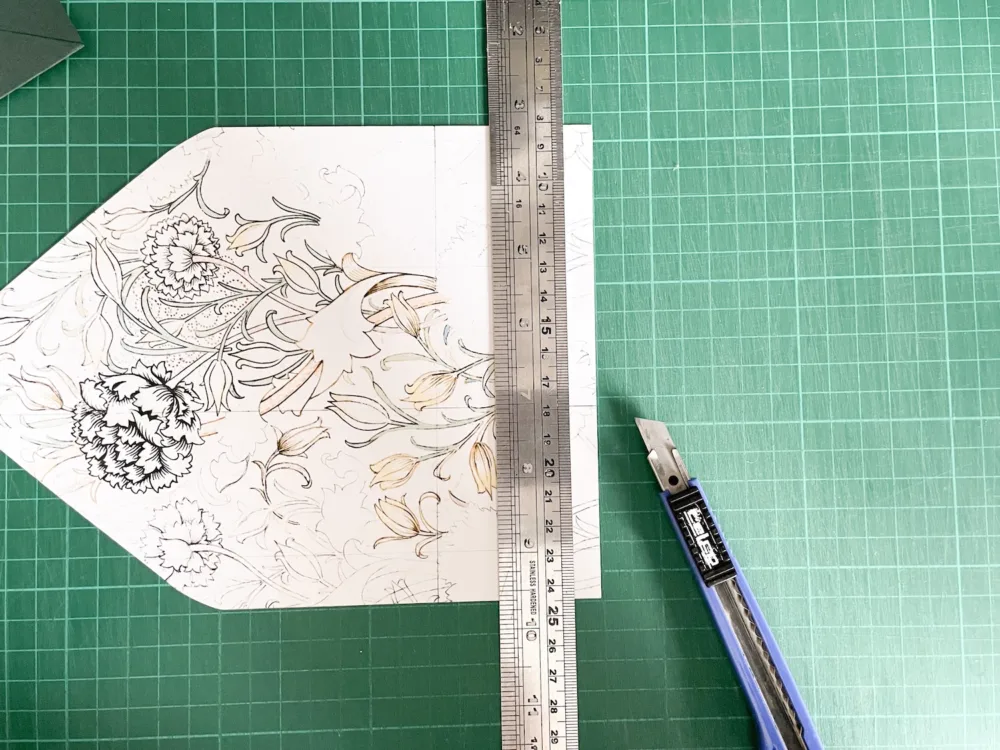
Once your liners are printed, it’s time to cut them out. There’s no single right way to do this, so if you have a preferred method, go for it. Our approach is old-fashioned but it works: a craft knife and metal ruler for the straight edges, and scissors for the rounded corners. No fancy equipment needed.
If you’re making a large batch, an envelope corner punch is worth the investment for speed and consistency.
Each liner has a thin guideline around the edge. Cut just inside the line so it doesn’t show on the finished liner.
3. Resize Your Liner If Needed
Our envelope liner templates are sized to fit standard envelopes, but envelope dimensions can vary between brands. If your liner is sitting a little too wide or too tall, a small trim is all it takes.
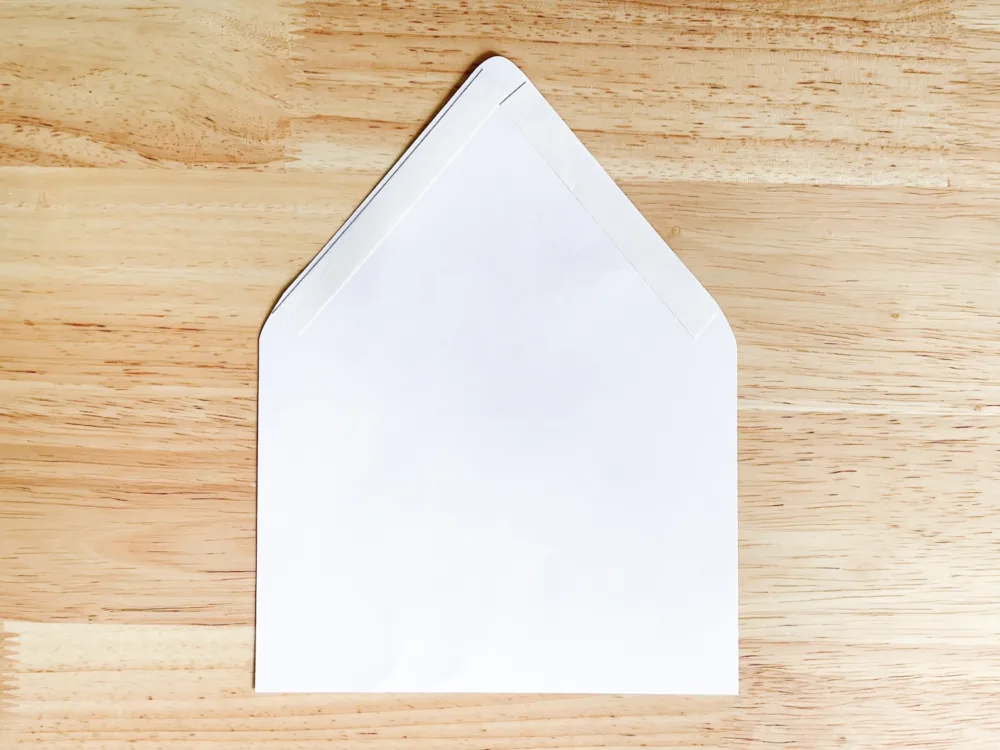
For this tutorial, our envelope runs slightly wider and shorter than a standard 5×7, so we trimmed 1cm (0.4in) off the bottom to get the liner sitting just below the glue line. It’s an easy fix.
The goal is for the liner to sit inside the envelope without overlapping the glue strip, so it doesn’t interfere when you seal it. Hold the liner up against your envelope before you glue anything down, and trim as needed.
4. Position and Stick
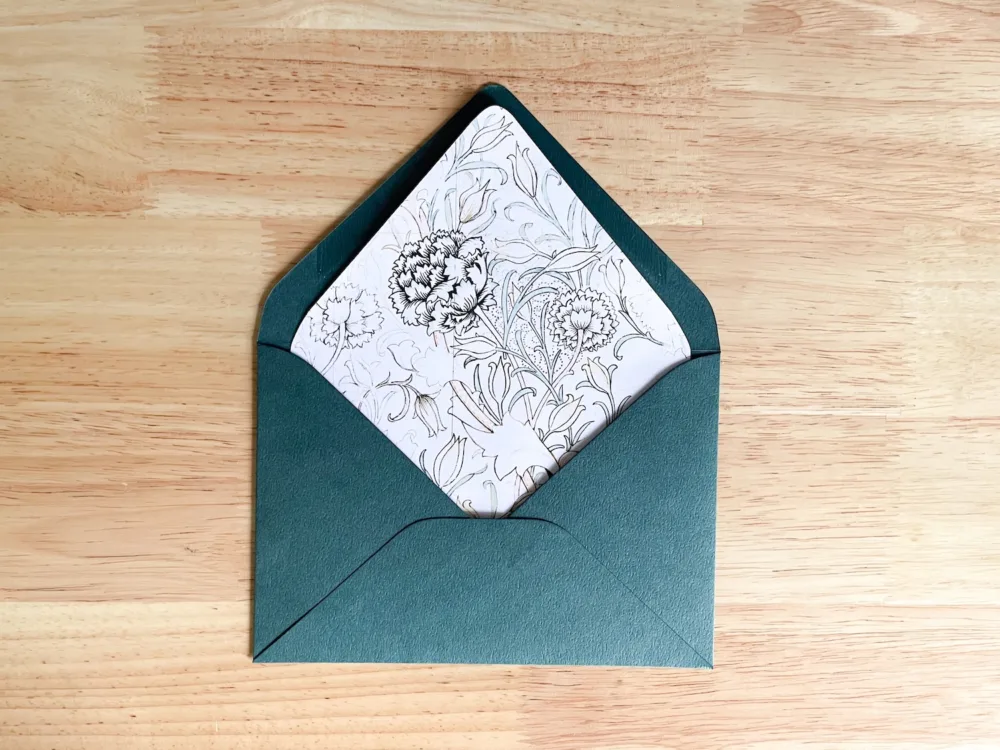
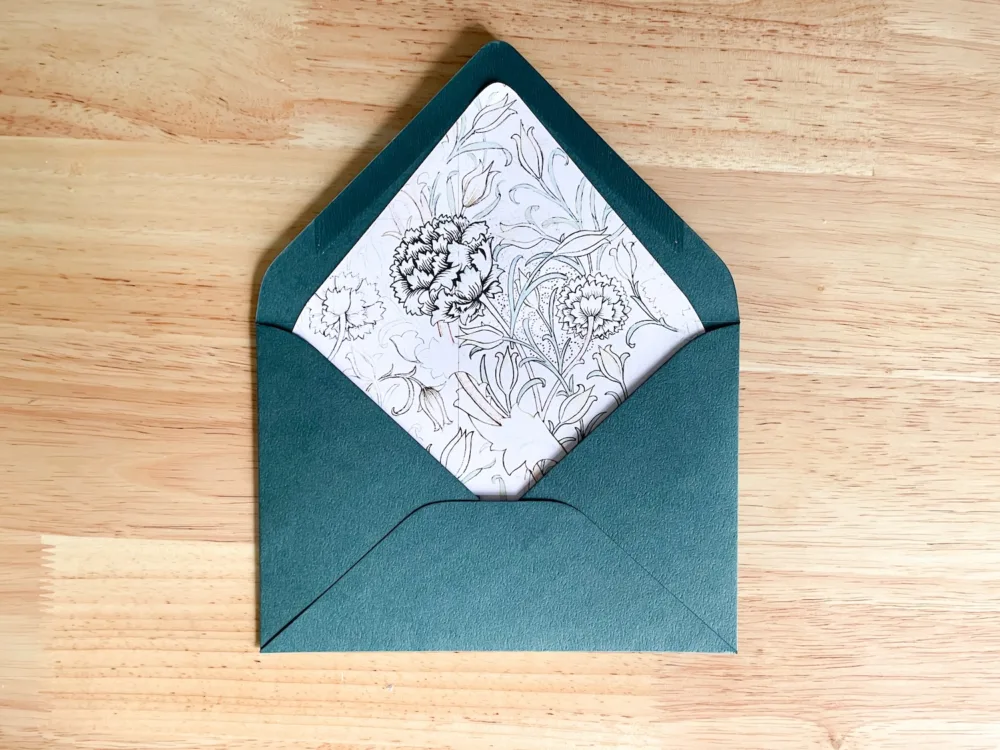
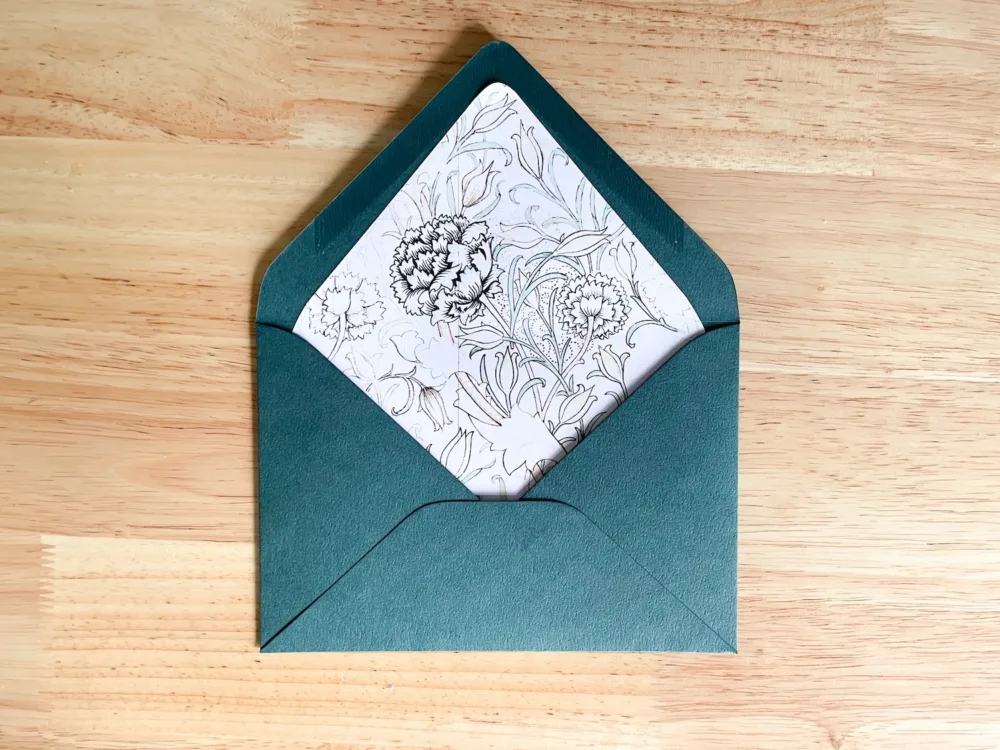
Slide the liner into the envelope and adjust until it’s sitting exactly where you want it. Aim to align the top edge just below the gum line, centred side to side. Our templates include roughly a 1cm (0.4in) margin around the edges to make this easier.
The order of operations here depends on your adhesive:
If you’re using double-sided tape: Position the liner first, then peel the backing from the tape on the flap and press down to secure. The backing means you can get everything sitting perfectly before you commit.
If you’re using a glue tape roller or glue stick: Apply your adhesive to the flap first, then slide the liner in and smooth it down while the glue is still wet. This reduces the fiddling around inside the envelope.
We used double-sided tape for this tutorial and in our own studio work. If you have the choice, we’d steer away from glue sticks and wet glue as moisture can buckle the paper as it dries. A glue tape roller is a great middle ground.
5. Fold and Finish
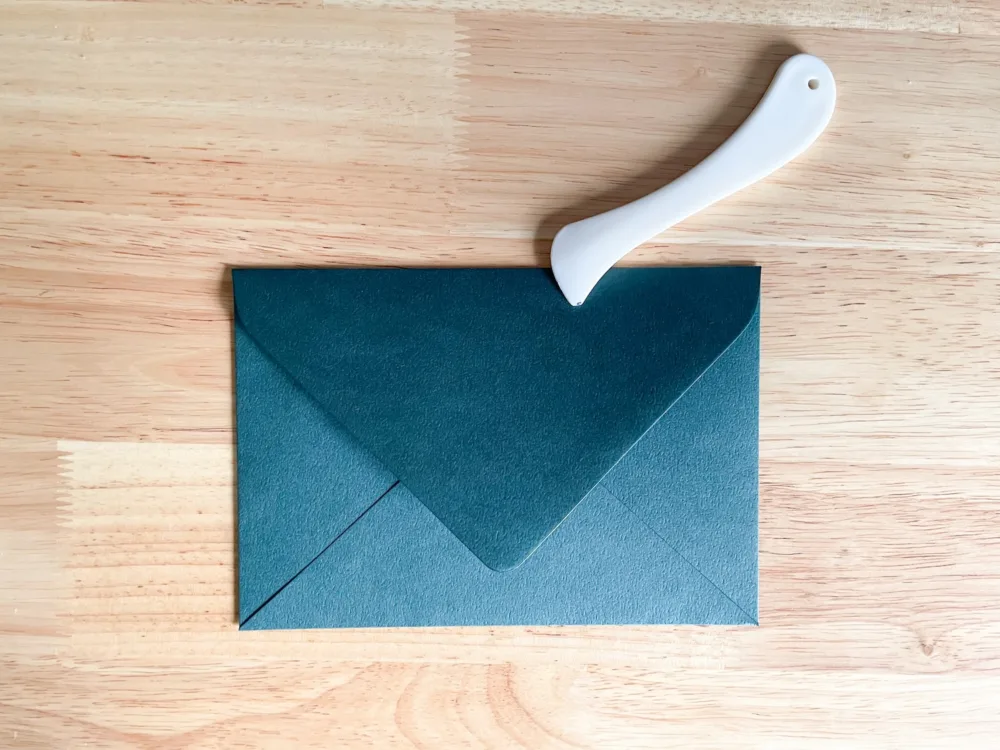
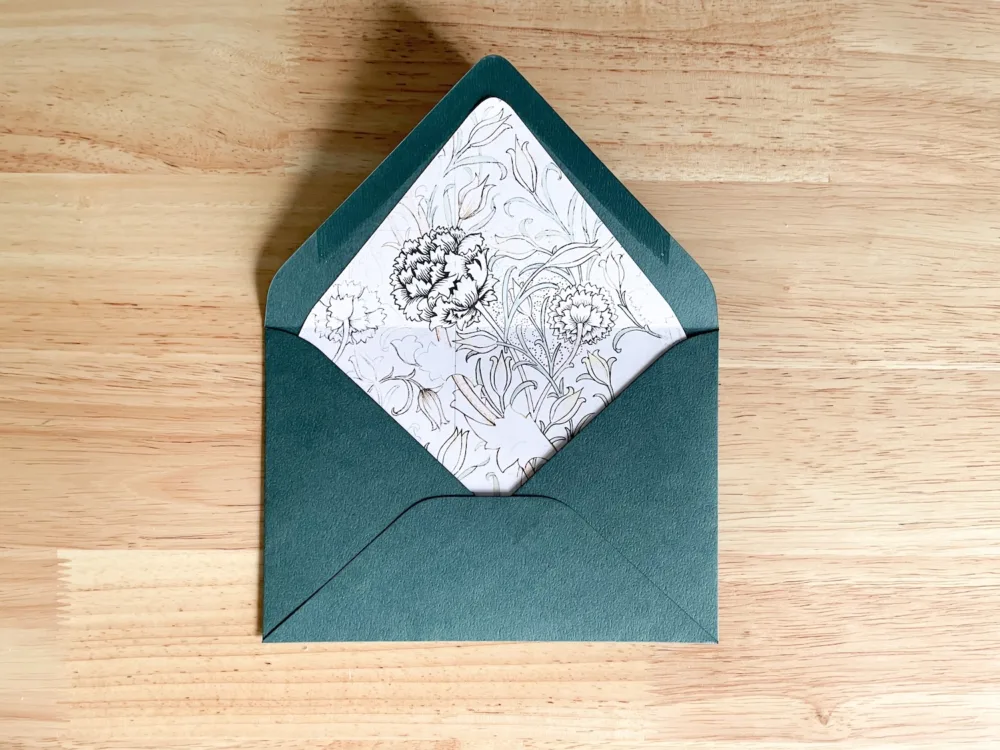
Fold the envelope flap down along its natural crease to set the liner in place. This presses it into shape and helps it move naturally with the envelope when opened and closed.
For a sharper fold, run a bone folder or the edge of a clean ruler along the crease.
One important thing: leave the rest of the liner loose. Don’t tape or glue it down inside the body of the envelope. It needs to move freely, otherwise it’ll bunch and pull when someone opens it.
A Few Extra Tips
- Test print first. If you’re unsure about your printer’s margins or paper thickness, do a quick test on plain paper before using your good stock.
- Go easy on the glue. If you’re using glue instead of tape, apply it sparingly to avoid wrinkling. A glue stick is better than liquid glue as wet adhesive can cause paper to warp and may make water-based ink run.
- Store flat. If you’re assembling in advance, store your envelopes flat and pressed under a book to keep them crisp.
- Print addresses first. If you’re printing recipient addresses directly onto your envelopes, do that before attaching the liners. It’s much easier to run a flat envelope through a printer than one with something already glued inside. Need addressing templates? We have envelope address templates that make the whole process a lot quicker.
- Don’t stress the slight wonk. These are handmade. A little imperfection is part of the charm.
This post may contain affiliate links. For more information, please read our Affiliate Disclaimer.