This article was last updated on 15/11/2025.
Planning a wedding can be both exciting and stressful, and one aspect that often gets overlooked is the stationery component. From the initial save the dates to the final thank you cards, there’s a lot to consider when it comes to wedding stationery.
In this article, I’ll walk you through each step of the wedding stationery timeline, ensuring you know what to expect. Whether you’re DIY’ing or looking to work with a professional designer, I’m going to try and cover all the bases.
Importance of a timeline for wedding stationery
Before I get into the specifics of each stationery item, let’s first discuss the importance of having a timeline for your wedding stationery. A well-planned timeline ensures that you have enough time to design, order, and send out your stationery without feeling rushed. If you’re working with a stationery designer, it’s even more important to be organised, as a lot of designers work with third-party suppliers to produce the items.
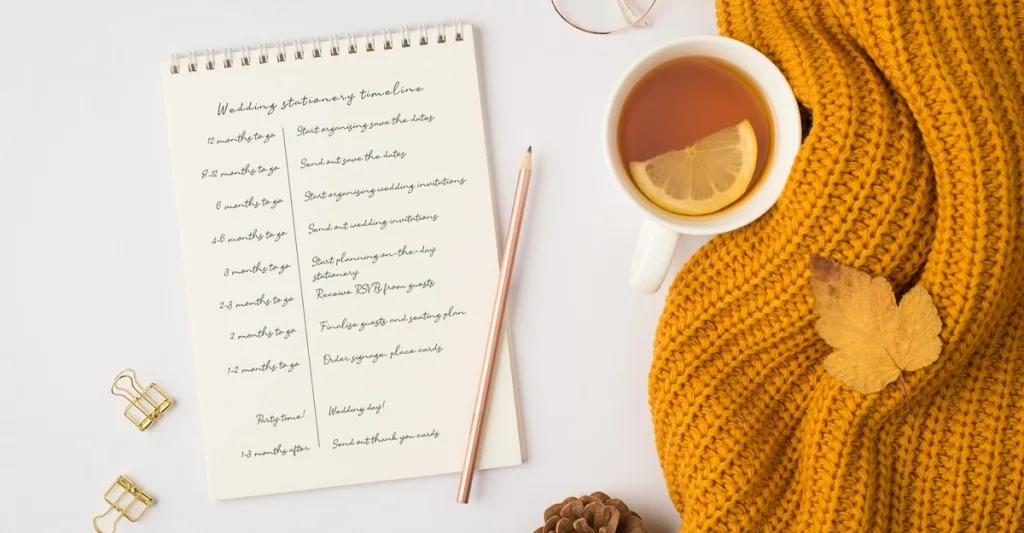
Wedding stationery timeline guide
Consider the following timeline for planning your wedding stationery. Keep in mind that the complexity of your stationery needs will directly impact the completion time. Remember, the more complex your stationery requirements are, the more time it will take to design and produce.
| 12 months to go | Start organising your save the dates |
| 8 – 12 months to go | Send out your save the dates |
| 6 months to go | Start organising your wedding invitations |
| 4 – 6 months to go | Send out your wedding invitations |
| 3 months to go | Start planning the on-the-day stationery |
| 2 – 3 months to go | Receive RSVPs from your guests |
| 3 months to go | Finalise your guest list and seating plan |
| 1 – 2 months to go | Order your signage, place cards and other on-the-day stationery |
| It’s party time! | Your wedding day! |
| 1 – 3 months after | Send out your thank you cards |
Save the dates: 8-12 months before the wedding
Save the dates are the first glimpse your guests get into your wedding, so it’s essential to get them right. The general rule of thumb is to send save the dates eight to twelve months before your wedding, especially if you’re planning a destination wedding or have guests travelling from afar. This gives your guests ample time to make arrangements and mark your special day on their calendars. Save the dates are also a great way to get an estimated headcount of how many guests will be attending your wedding.
When it comes to the content of your save the dates, simplicity is key. Include your wedding date, the location, and a brief note indicating that a formal invitation will follow. You can also provide a wedding website or email address for guests to get additional information or ask questions.
- When to Send Destination Wedding Invitations
- Destination Wedding Save the Date Wording
- Choosing the Right Size for Your Save the Date Cards: Everything to Know
Wedding invitations: 4-6 months before the wedding
Wedding invitations are no doubt the most exciting part of planning your wedding stationery! If you’ve already sent out save the dates to your guests, then you have more leeway with timing. You can even get away with sending the invitations out two months before the wedding. However, if you haven’t sent out save the dates, then sending invitations out four to six months in advance is recommended.
I always advise my couples to allow at least one month for the design and production stage of the invitations. But why so long, you may ask? Because in my experience, things can go wrong. And when things go wrong, it takes time (and sometimes money) to correct them.
Here are some things to consider when it comes to timing for invitations:
- The design process can take a while, whether it’s editing the wording or changing the fonts and colours. If you’re working with a stationery designer, there can be many back and forth emails and drafts. This process can take anywhere from a few days to weeks. Sometimes you may also need to confirm the details with your vendors before printing the information onto the invitation. This can add another week or so to the process.
- After you’re happy with a design, the production process begins. If you are DIY’ing your invitations, this stage can include: sourcing paper, finding ink (or a suitable printing company) and ordering finishing items such as wax seals or ribbons. If you have enlisted the help of a stationery designer, the process is the same, except you won’t have to deal with the stress of it. Working with a designer offers a significant advantage as they typically have already completed all the necessary research. They’ll know exactly where and how to create stationery without too much delays.
- And before I forget to mention this – the style of your invitations can affect the production timeline. Specialty print services such as letterpress, hot foiling and die-cut are manual processes which take at least two weeks to produce. (Please be patient with your designer during this time, it’s not something they can control.)
- Lastly, shipping time also has to be considered. This can take anywhere from one day to four weeks. I suggest checking the shipping times on your vendor’s website before ordering to get a sense of how long it will take.
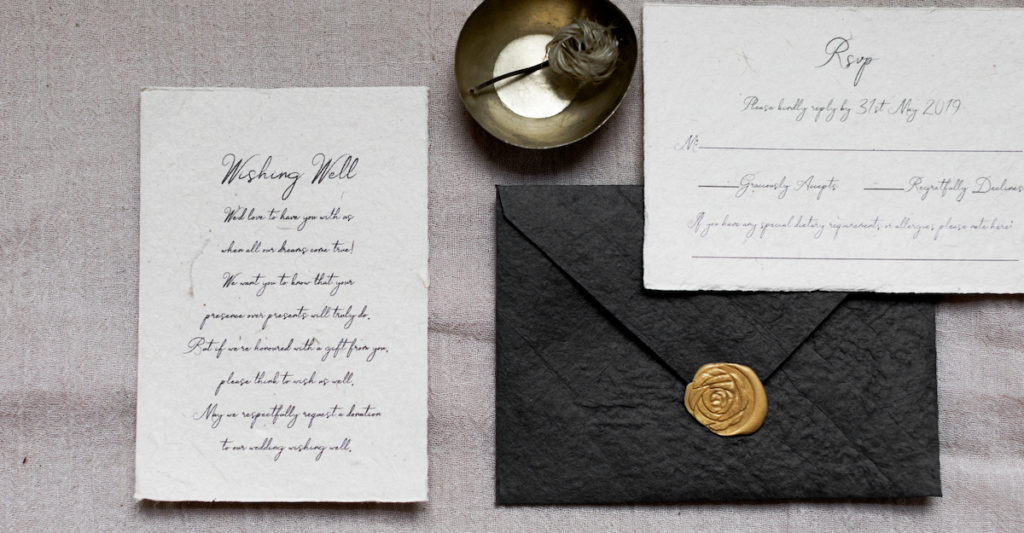
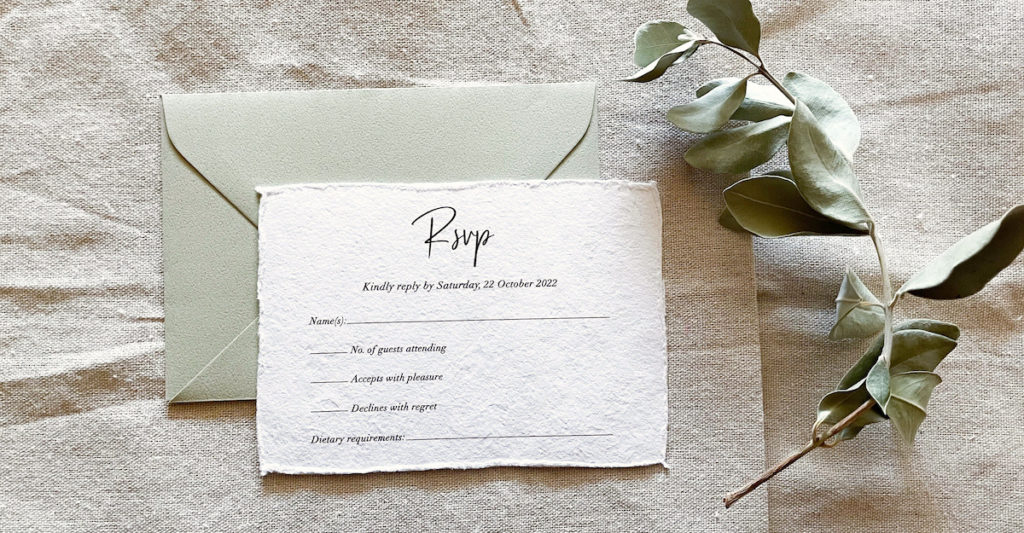
RSVP date: 2-3 months before the wedding
Having an RSVP date is an essential part of your wedding stationery, as it allows you to track your guest numbers and plan accordingly. To encourage timely responses, consider setting an RSVP deadline two to three months before your wedding date. You’ll be surprised at how many people will forget to RSVP or are still undecided! This means you’ll have to follow up with them in the following weeks. This timeframe gives you enough time to finalise your guest count and make any necessary adjustments to your venue or catering plans.
You’ll also need your finalised guest list in order to continue creating your on-the-day stationery. If you’re having organised seating at your wedding, you will need a seating chart and name cards. These items can only be created once you have your final guest names.
On-the-day stationery: 1-3 months before the wedding
In addition to save the dates and wedding invitations, there are several other stationery items you may want to have at your wedding.
Here are some examples of on-the-day stationery:
- Wedding programs: These are a great way to guide your guests through the ceremony. This provides them with an outline of the proceedings and introduces the wedding party.
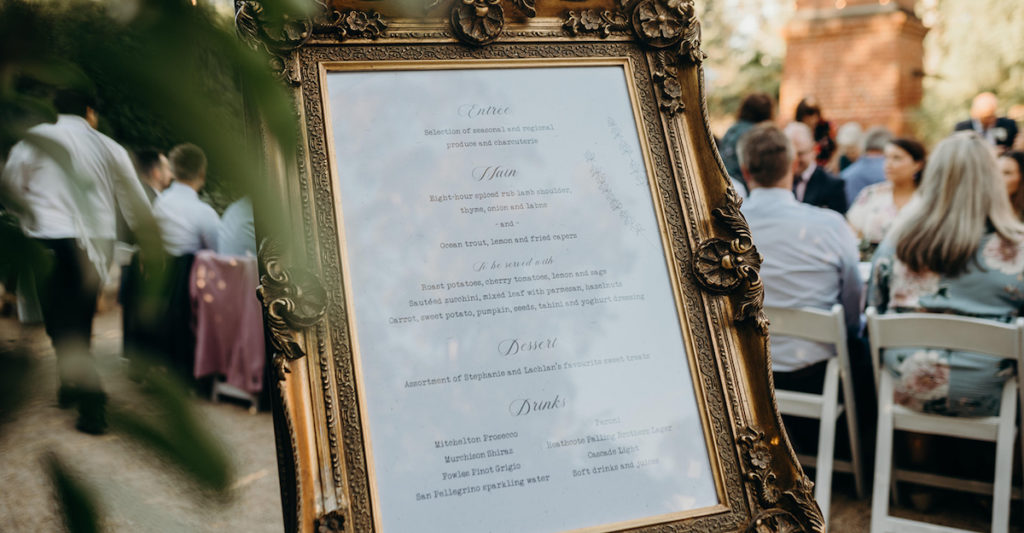
- Menus (both food and drinks): These play an important role at the reception. Check with your venue to see if printed menus are supplied. If not, you will have to create your own.
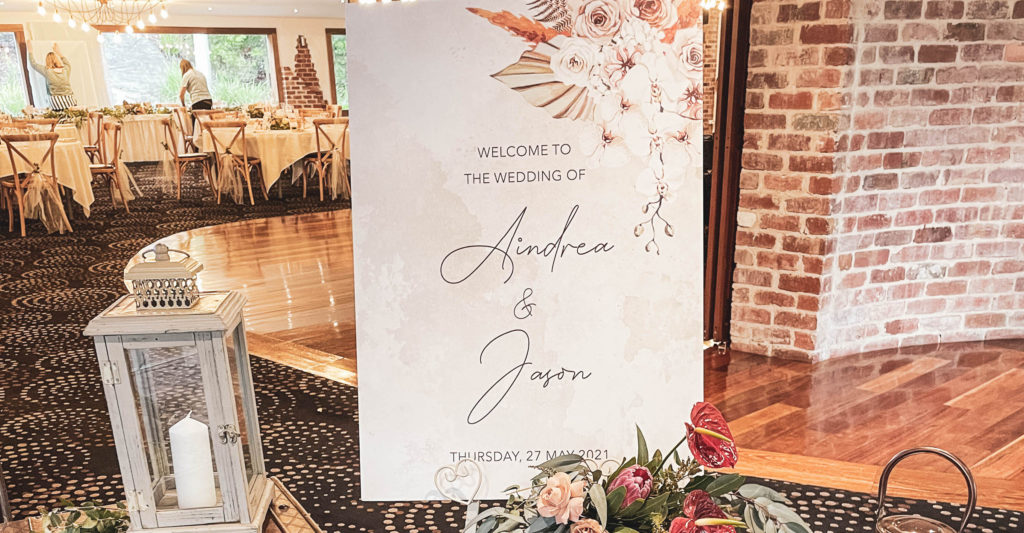
- Signage: Often overlooked, signage plays a crucial role in directing guests to different areas of your venue or providing important information. From welcome signs to directional signs, signage helps ensure your guests feel informed and comfortable throughout the day.
- Place cards and table numbers: These are also essential stationery items, especially if you’re having assigned seating at your reception.
I recommend organising your on-the-day stationery as early as possible, and at the very least, one month before the wedding. Most items can be designed and printed months in advance, with only the seating chart and place cards needing more time to finalise because of the guest names.
Just like the invitations, you need to factor in the time for design, production and shipping of these items. If you can find a local stationery designer to work with, they may be able to assist with last-minute requests. However, bear in mind that a lot of the times, things can go wrong (as previously mentioned) and leaving everything last-minute can result in having no stationery available for your wedding.
DOWNLOAD A FREE PRINTABLE A4 WEDDING STATIONERY CHECKLIST HERE
Thank you cards: 1-3 months after the wedding
Now that the wedding is over, you can finally relax a bit! Thank you cards should be sent within three months of your wedding. This gives you enough time to settle back into your routine and write personalised messages to each guest.
Tips for wedding stationery planning
Here are my top 3 tips when it comes to wedding stationery:
1. Enlist the help of a stationery designer if it’s within your budget.
I frequently receive frantic last-minute requests from couples whose DIY wedding stationery plans have gone awry or taken longer than expected. I can tell you that many regret not seeking professional help sooner. Also, sometimes the cost of purchasing materials, machinery and consumables for DIY stationery can far outweigh professional stationery costs.
If hiring a stationery designer is beyond your budget, my advice is to research as much as you can before embarking on creating your own stationery. And don’t forget to leave ample time for mistakes. Editable templates, such as the ones in our online store or on Etsy, are the easiest DIY option to design nice-looking stationery. Additionally, using an online printing company takes the stress of having to print your own stationery away. (Tip: MOO is an excellent choice for printing invitations. Not only are they affordable, the quality is top notch!)
2. Finalise all the details as soon as possible.
Your vendors will thank you, your guests will thank you and most importantly, you’ll thank yourself for being organised!
3. Don’t be afraid to ask for help
If you’re in a last-minute frenzy and every stationery website you’ve been to has stated they don’t do rush jobs, my advice is to just reach out anyway. Our studio will always try our best to help where we can and I’m sure a lot of other stationery designers do as well. Can’t find a stationery designer near you? Reach out to nearby local print shops, as they normally have on-site graphic designers who can assist.
Final thoughts
Planning your wedding stationery timeline may seem daunting, but with the right approach and a clear plan, it can be an enjoyable and rewarding experience. Remember to start early, allow yourself enough time for design and production, and do lots of research. Whether you choose to go the DIY route or work with a professional, the key is to be organised. Have fun and happy planning!

—
Please note that some of the links in this post are affiliate links and any purchase made through the links will give us a small commission (at absolutely no extra cost to you). Please read our Affiliate Disclaimer for more info.